Out of the Archives: "Uppuma: it's what's for breakfast." (updated edition)


fig. a: uppuma: that was then

This post first appeared in 2009. The photograph above is how the dish in question—uppuma—was pictured at the time, in the pre-Instagram era.

This post has been updated. If you would like to see the original, you can find it here.


I first discovered uppuma sometime way back in the 1990s through my friend Carolyn. She'd gotten way deep into vegetarian Indian cuisine. Many of us admired Yamuna Devi's Lord Krishna's Cuisine: The Art of Vegetarian Indian Cuisine (1987) back then, but I'm pretty sure Carolyn was the only person I knew who owned it. And I'm positive she was the only one I knew who had the guts to actually use Yamuna Devi's Lord Krishna's Cuisine. I, on the other hand, distinctly remember looking at those long lists of ingredients and getting totally overwhelmed. I made Devi's carrot pickle once, but that was as deep as I ever got into her 800+ page tome.

Anyway, I also remember the first time I had uppuma for breakfast. Carolyn and I were visiting her parents at the beach, and she just whipped it up one morning. Just like that. I wasn't 100% sure what it was--I just knew it was South Indian and that it involved a long list of ingredients--but it was a revelation. As much as I loved spicy food at the time, I still had trouble coming to terms with spicy breakfasts--huevos rancheros and New Mexican chile verde breakfasts were about as far as I was willing to roam. Spicy/sweet breakfasts that were egg-free were the height of exotica to me.

The sad thing is, I never watched Carolyn's prep closely enough to figure out how uppuma was made, and therefore it never became a part of my repertoire. I'd think about those uppuma breakfasts longingly from time to time, but it never really went much farther than that. And within a few years I'd lost touch with Carolyn and had totally forgotten the name of her oh-so-exotic South Indian breakfast specialty.

Skip ahead about a decade. Michelle and I had just picked up a copy of Jeffrey Alford and Naomi Duguid's Mangoes & Curry Leaves (2005). The first time I leafed through it I knew--I just knew--I'd find the recipe I'd been looking for.

fig. b: Alford & Duguid’s Mangoes & Curry Leaves

Sure enough, there it was on pages 92-3--"Semolina Uppuma"*--with a nice little anecdote about Mr. Alford's affection for the dish, and the daily ritual he had while in Kerala: a swim in the ocean, a walk, and uppuma and coffee every day for breakfast.

Since getting reacquainted with uppuma,** it's become one of my favourite breakfasts, especially at this time of year—late spring—when the choice mangoes start arriving from India. There’s this magical period of time—usually no more than 4 weeks—when Alphonso and Kesar mangoes are flown in to Eastern Canada. In Montreal, there’s this whole mango underground that involves making arrangements with Indian and Sri Lankan grocers. If you get to be a part of the network, you’ll sometimes get calls late at night alerting you to the fact that a shipment has just arrived. In Ontario, you can sometimes find small cases of six mangoes at your local supermarket, especially if it’s a chain like FreshCo that frequently caters to recent immigrants. Having moved to Ontario from Montreal, the first time we did we were shocked to find what are surely among the world’s best mangoes just sitting there on display in plain sight—no waiting lists or late-night telephone assignations necessary. Anyway, I love uppuma at any time of year, but it’s a particular favourite if I can dress it with fresh Alphonso or Kesar mangoes—an already bewitching dish becomes positively intoxicating. Also, truth be told, it's not just for breakfast anymore. Uppuma can often tilt in a more savoury direction. Carolyn was fond of putting cabbage in one of her versions back in the day. I always make it this exact way—savoury/sweet and fruit-forward—but I’ve been known to have uppuma for brunch, lunch, and dinner, too—and I'm quite sure I'm not the only one.

Don’t be intimidated by the list of ingredients. Many of them are toppings, and therefore optional, and if you have the basics, uppuma is actually very easy to make. The primary ingredient, as Alford & Duguid suggest, is semolina, the same substance that's the basis of Cream of Wheat. As much as I love Cream of Wheat, uppuma is something altogether different. For one thing, you start off by dry roasting the semolina. Then you transform it into the most heady concoction of spicy and sweet. You'll never look at hot cereal the same way again. In fact, you should be forewarned: uppuma might very well change your life.

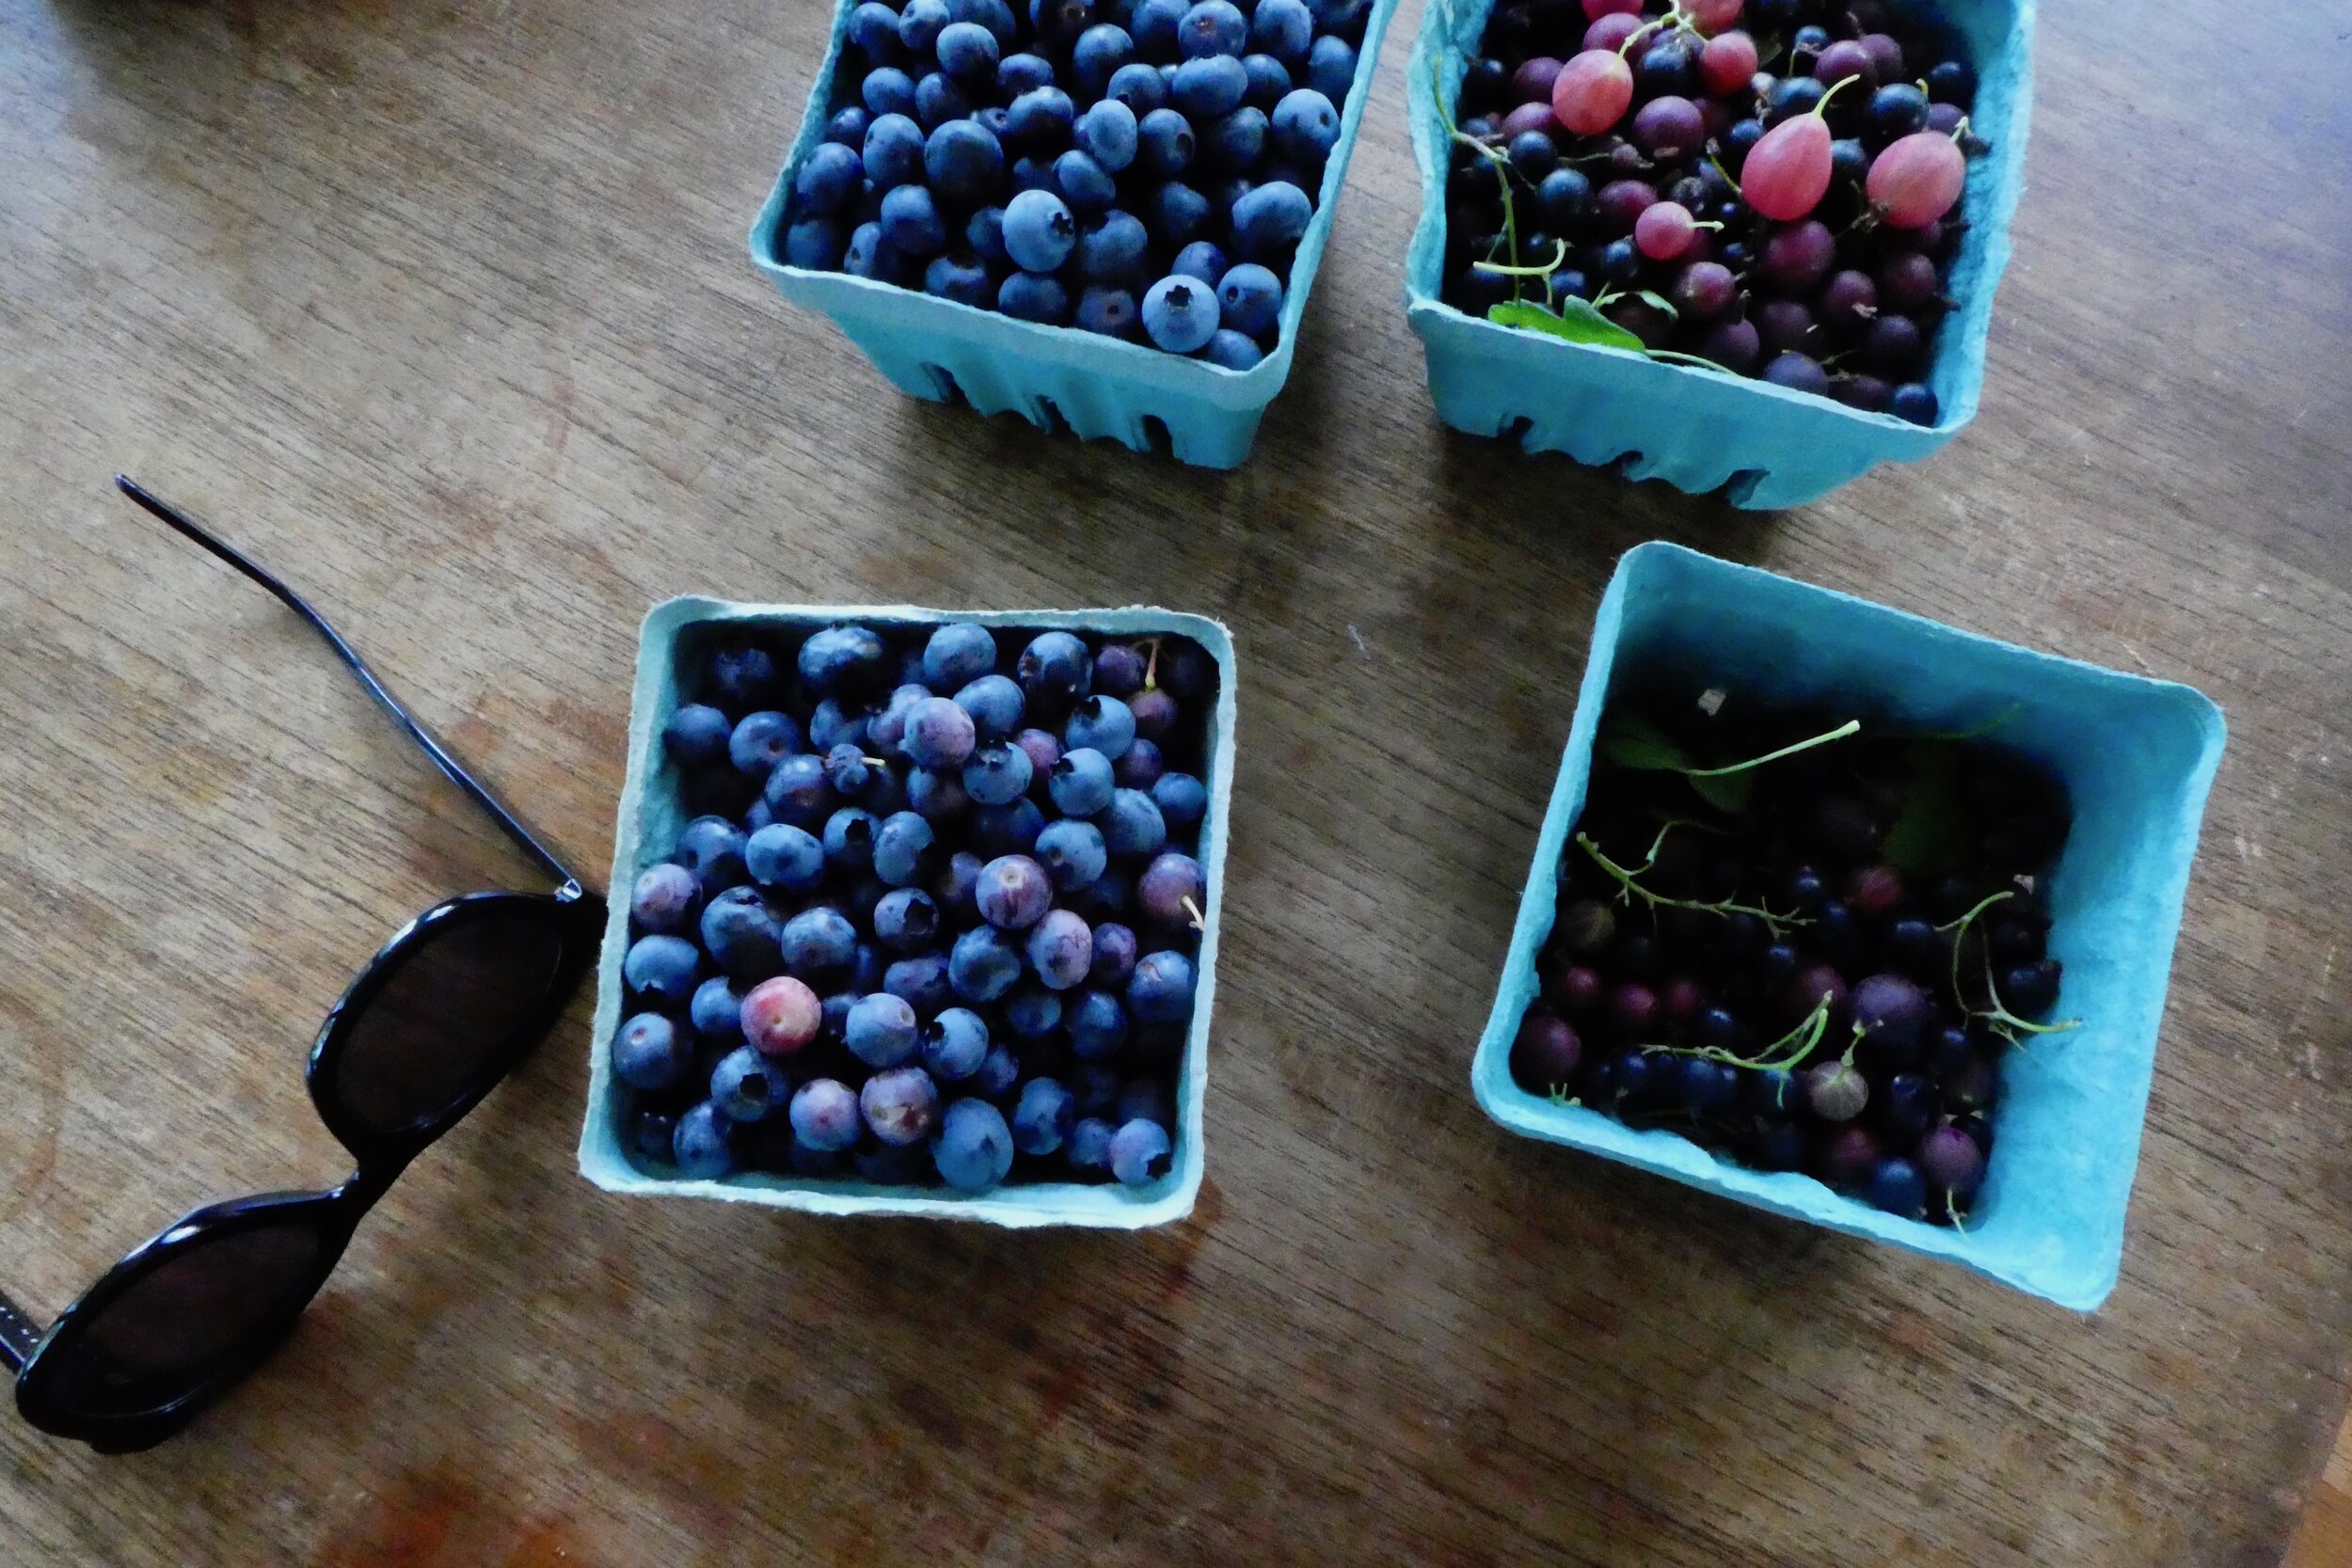
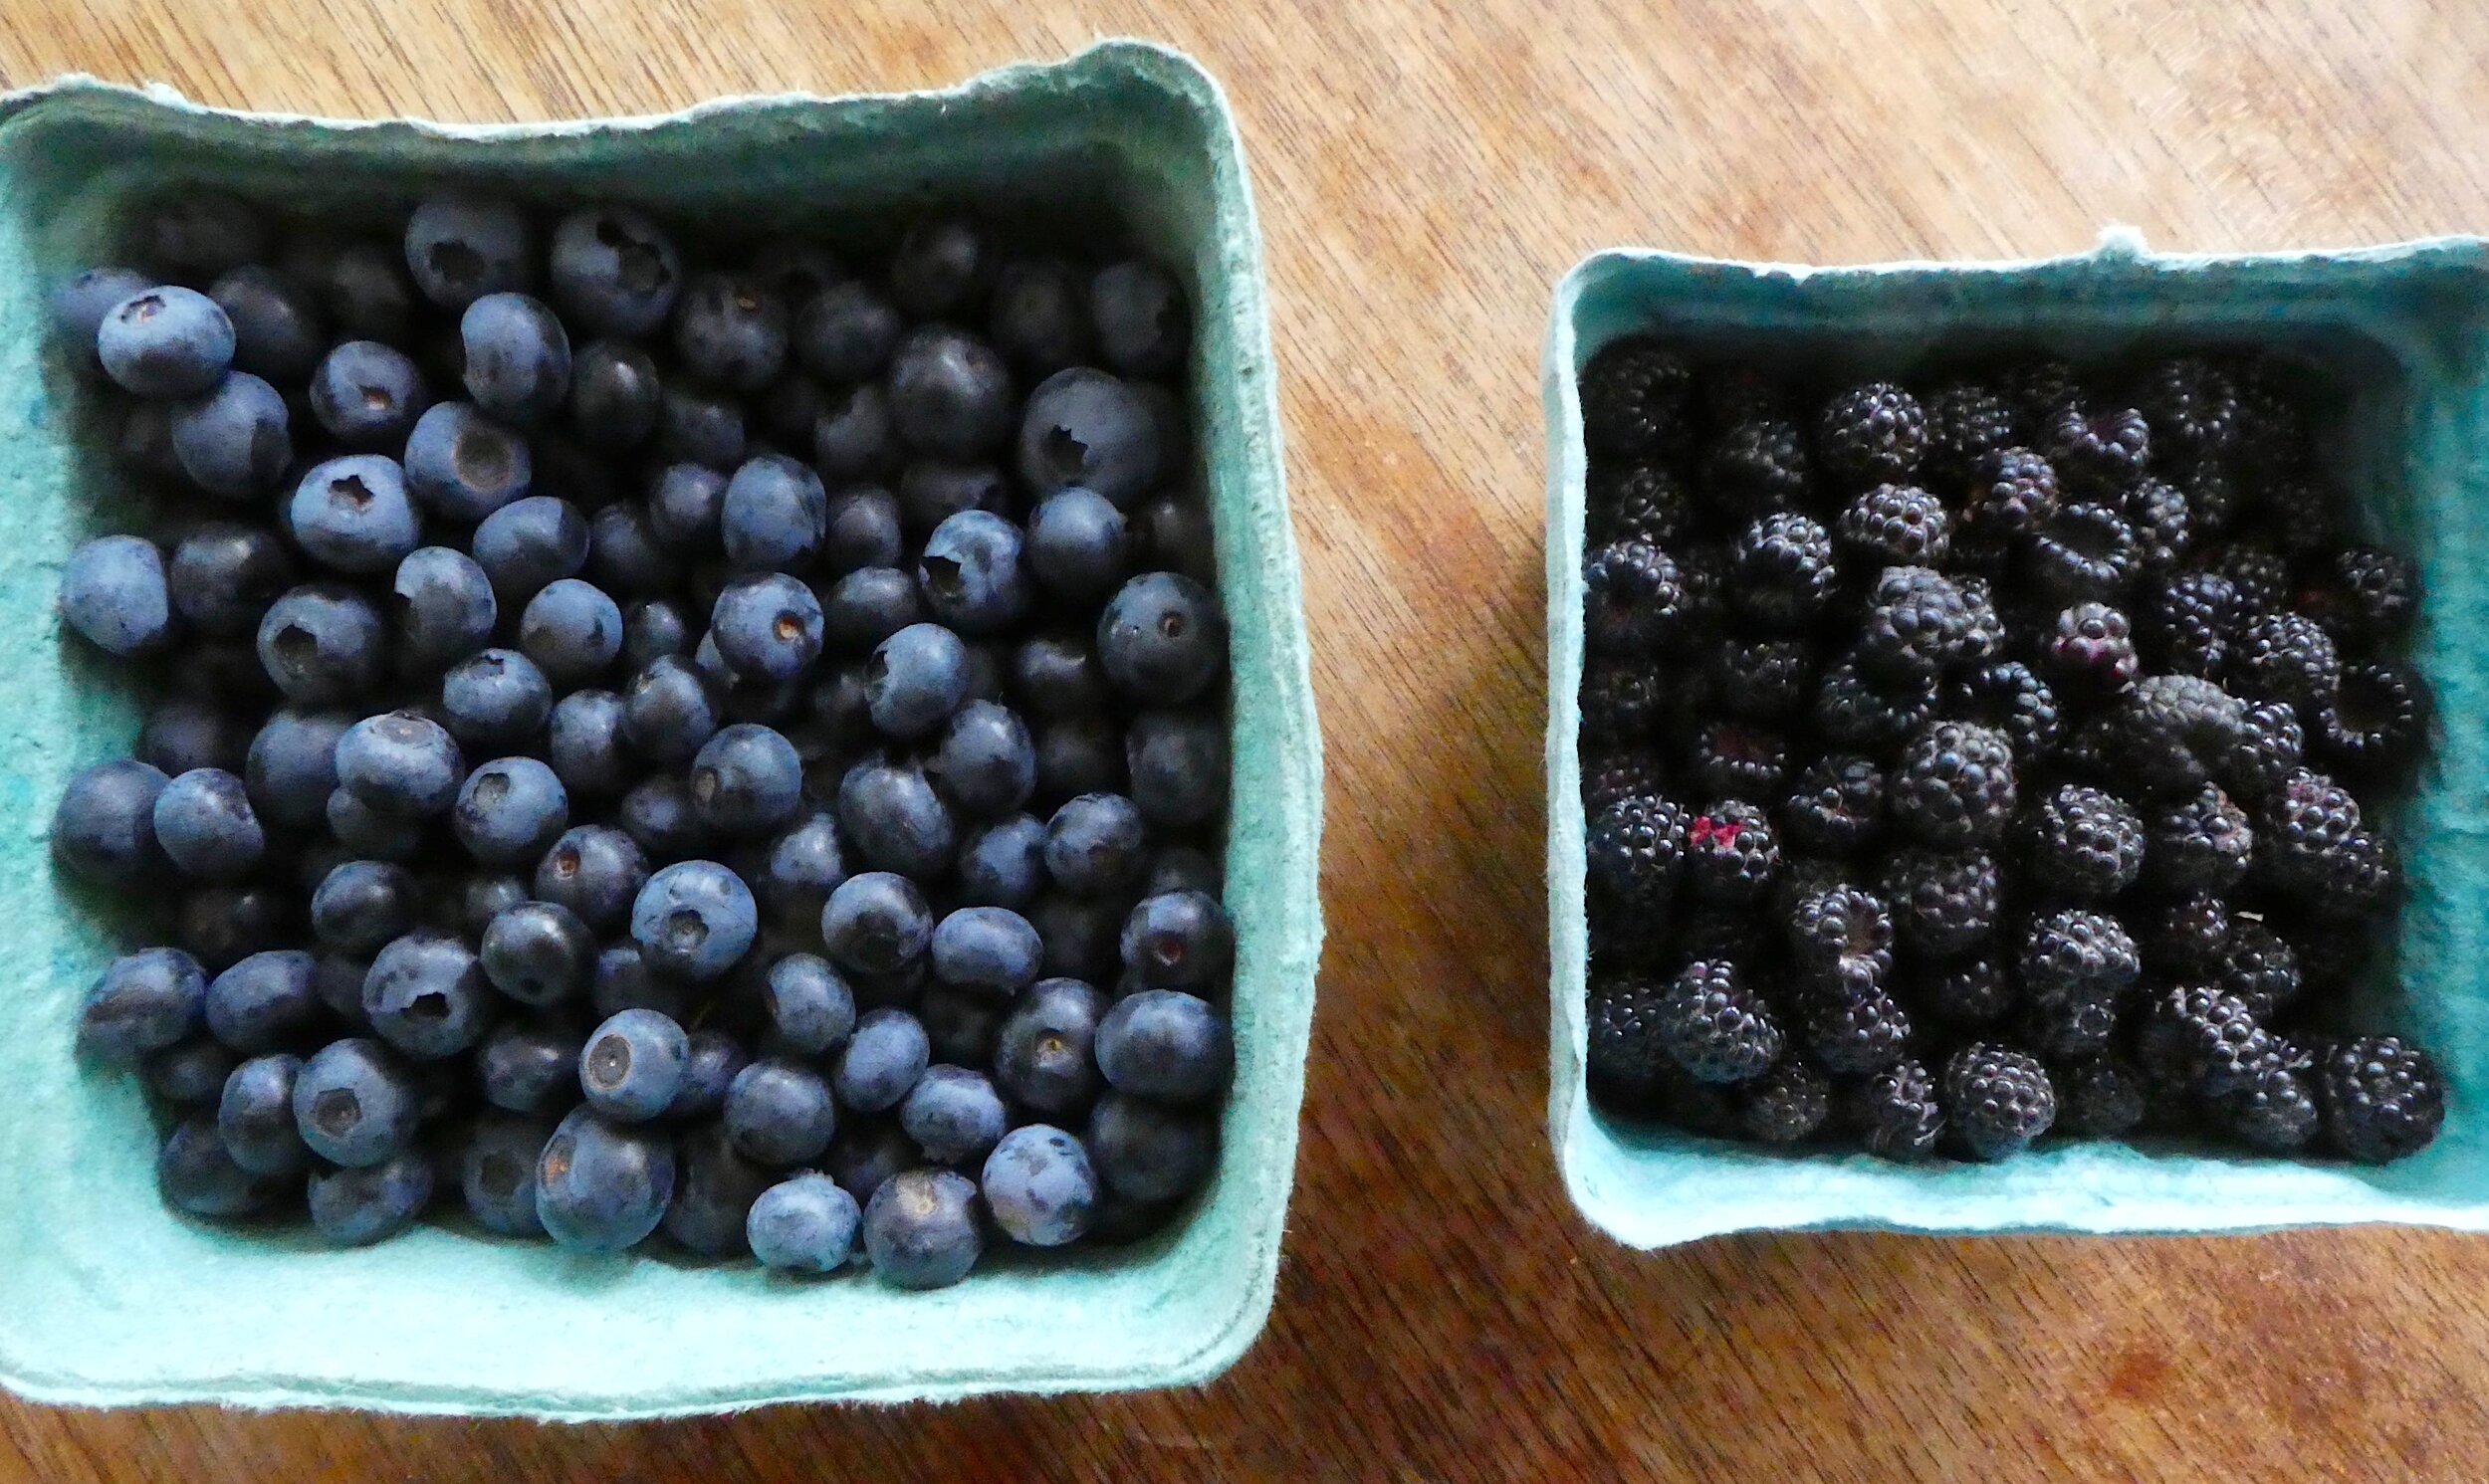
fig. c: uppuma: before

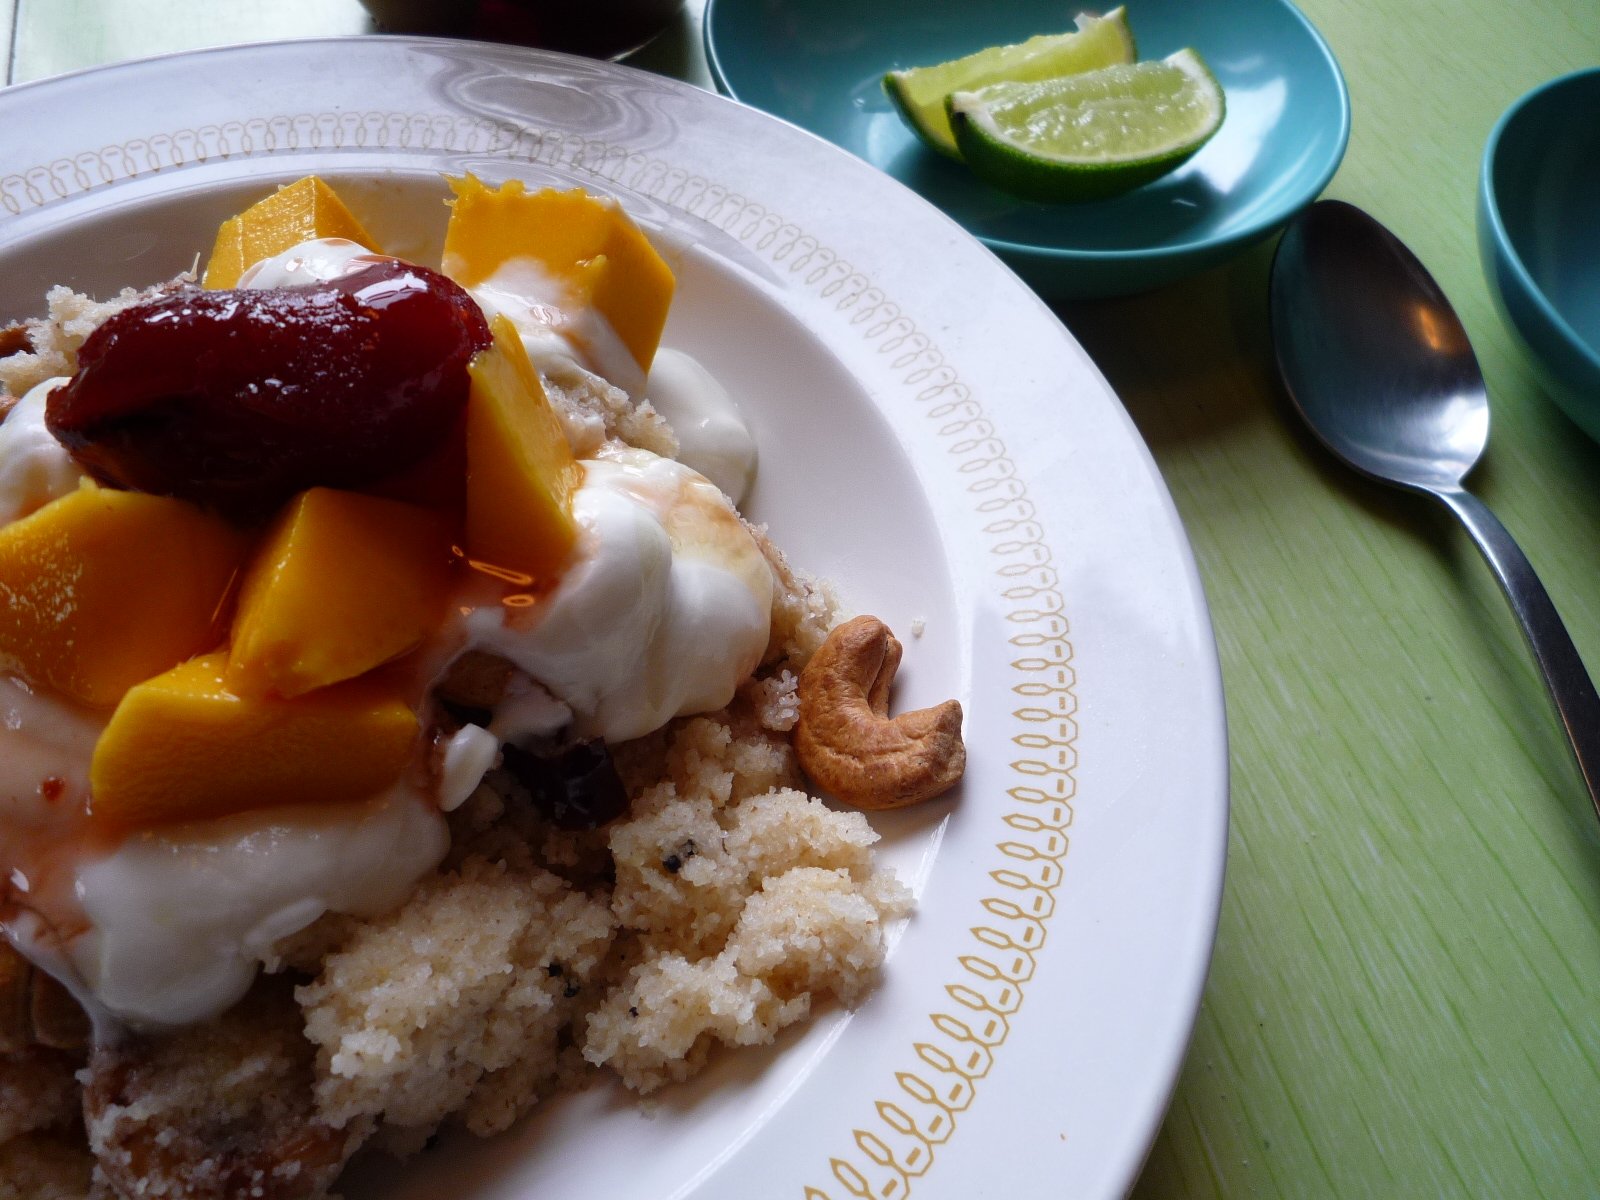
fig. d: uppuma: after (a.k.a., all-dressed)

Semolina Uppuma

2 cups coarse semolina flour (if you live in Montreal, look for "semolina #2" in local stores)
3-4 tbsp vegetable oil
1 tbsp butter or ghee (if you choose to omit this, use the extra tbsp vegetable oil listed above)
1 tsp black mustard seeds
10 roasted and lightly salted jumbo cashews, whole or coarsely chopped [Alford & Duguid’s original recipe calls for unsalted cashews, but I prefer the lightly salted, beautifully roasted ones I get from my local nut vendor]
2 dried red chilies, stemmed and coarsely chopped
pinch of asafoetida powder (optional, but highly recommended)
1 tbsp minced ginger
2-3 green chiles, such as cayenne or even jalapeño
3 cups hot water
1 tsp salt, or to taste

suggested accompaniments:
1 lime, cut into wedges
plain yogurt
1 ripe mango, preferably an Alphonso or Kesar mango from India
1 ripe banana
handful of cashews, lightly fried in a little butter, ghee, or oil until golden
candied dates and their syrup
honey

Place a skillet, preferably a wide and heavy one, over medium-high heat and add the semolina. Dry roast the semolina, stirring it frequently with a wooden spatula or spoon to prevent burning. The grains at the center, underneath, will start to turn brown first, even when it might seem as though nothing is happening yet, so every minute or so, run your spatula under the center and move the golden grains to the side to let the others take their place and become golden. After 2-3 minutes, lower the heat to medium, and continue to cook for another 4 minutes or so, until all the semolina grains are lightly touched with gold. Pour into a bowl and set aside.

Place a wide heavy pot over high heat and add the oil with the ghee or butter (if using). When the oil is hot, add the mustard seeds. Once they sputter, lower the heat to medium, add the cashews, dried chilies, and asafoetida and stir-fry briefly. Add the ginger and green chilies and stir-fry briefly, then add 3 cups of hot water.

Bring to a boil, add the salt, then add the semolina slowly in a trickle. Keep stirring with a wooden spoon as you add the grain to get it all properly mixed and to prevent lumps from forming, just as you would with porridge or polenta. Continue stirring and turning for another minute to break up lumps and moisten all the semolina. It will absorb the water quickly and if the mixture seems dry (if there are lumps of semolina that have not been fully moistened), add a little more hot water and stir. The semolina should be tender and all the water should be absorbed. Remove from heat and serve with the accompaniments of your choosing.

Our favorite combo is freshly squeezed lime juice, yogurt, fresh mango, toasted cashews, a candied date, and some of the candied date syrup.

Note: traditional uppuma recipes call for a smidgen of urad dal (Alford and Duguid's calls for 2 teaspoons), as well as some curry leaves, both of which can be hard to find if you don't live near any South Asian specialty food stores. We've found that our uppuma is still tremendously satisfying without them.

[based very closely on a recipe from Jeffrey Alford and Naomi Duguid's Mangoes and Curry Leaves]


aj

*Why "semolina uppuma"? Well, as Alford explains "uppuma" is also a term for a method of cooking involving "flavored oil and hot water."

**I've also gotten reacquainted with Carolyn, I'm happy to report, thanks to the miracle of social media.

Gravlax Made Easier (and Brighter!)

 
fig. a:  three amigos

fig. a: three amigos

It started with the Three Amigos: lemon, lime, and orange.

I crave citrus all winter long. I always have, but in recent years it’s become an even more essential part of my winter survival kit. And during a pandemic winter, what we might call the urgency of citrus grew considerably. Since December, when we picked up our first case of Spanish clementines, we’ve been on one helluva citric kick.

Miraculously, we haven’t maxed out yet. This in spite of the fact that lemons, limes, and oranges have been in countless ways, both savoury and sweet, as well as in the form of juices and cordials. In fact, the range of citrusy things I’ve been craving seems to be expanding as the first hints of spring have arrived. With artichokes? Yes, please. On asparagus? Why, thank you very much. Gracing a green salad? Absolutely. Zested and sprinkled on fish? Might as well.

Which is how I came to make a recipe for Citrus-Cured Salmon (a.k.a., Citrusy Gravlax) that I’d noted and admired in an old issue of Bon Appétit. My need for yet another citrus fix kicked in one day recently, I started flipping through my mental Rolodex, and I suddenly remembered the image of a bright, citrusy, beautifully cured gravlax that I’d once seen. A little digging around ensued, and…

fig. b:  “…a bright, citrusy, beautifully cured gravlax that I’d once seen.”

fig. b: “…a bright, citrusy, beautifully cured gravlax that I’d once seen.”

It appeared in BA’s 2016 Travel Issue (page 140 of the May issue, to be exact) and it accompanied a piece about a remote restaurant (on stilts!) that sits on Ismailof Island in Alaska’s Halibut Cove called The Saltry. It’s a seasonal operation, only open from Memorial Day to September, and it appears to still be going strong. And one of the specialties of the house at the time was an unusual—and unusually tasty—citrusy gravlax.

It’s also unusually quick and easy to make. You might recall that I posted a recipe for gravlax back in December that claimed, “it’s as easy as they come.” Well, this one’s even easier. No joke. The cure-to-fish ratio is relatively high, which allows the curing process to be a little faster than usual—24-36 hours, as opposed to the 3-5 days that’s common with gravlax recipes.

The only real challenges here are tracking down a beautiful salmon fillet (preferably wild king—or, even better, organic wild king), gathering together a few spices, and making sure you’ve got those Three Amigos on hand.

The transformation is remarkable. Take a look!

fig. c:  before

fig. c: before

fig. d:  after

fig. d: after

And the finished product is both phenomenally beautiful, and incredibly delicious.

It’s remarkable what a little citrus zest can do. This gravlax sings with a citrus zing.

Citrus-Cured Salmon (a.k.a., Citrusy Gravlax)

5 oz kosher salt (1 cup Diamond Crystal or 1/2 cup Morton’s)

2/3 cup granulated sugar

1/3 cup (packed) light brown sugar

1 tsp black peppercorns

1 tsp coriander seeds

1 tsp fennel seeds

1/2 crushed red pepper flakes

1 x 1 lb skin-on, boneless salmon fillet, preferably wild king

1/2 tsp finely grated lemon zest

1/2 tsp finely grated lime zest

1/2 tsp finely grated orange zest

Grind the pepper, coriander seeds, fennel seeds, and pepper flakes in a spice mill, leaving them slightly coarse.

Then mix the salt, sugar, brown sugar, and the spice blend together in a bowl.  This is your curing mixture

Line a rimmed baking sheet with a large sheet of foil (it needs to be large enough to wrap around your salmon completely).  Spread half the curing mixture in the centre of the foil-lined baking sheet.  Place your 1 lb. salmon fillet, skin-side down, on top.  Scatter the zests over the fish; then cover the fish with the rest of the curing mixture, piling it up against the sides of the fish so they get cured too. 

Bring the foil up and over the salmon and crimp to create a sealed envelope.  Top with a 2-gallon zip-top bag filled with water, or some other kind of similarly weighty object, keeping in mind that you’ll have to find enough room in your refrigerator to place the ensemble.  Chill in the refrigerator for 24-36 hours, making sure to unwrap the fish, flip it skin-side up, and re-wrap it once during that span of time (preferably halfway through).  

When the fish is fully cured (after at least 24 hours), rinse it of most of the cure and pat dry, then place skin-side down on a cutting board.  Using your longest, sharpest knife cut on a diagonal 1/8-1/4” thick, leaving the skin behind, and wiping down the blade with a moist towel between slices if need be.

Serve with rye bread, or bagels, or blini, or matzah, or pile onto a citrusy salmon version of Eggs Benedict.  You get the picture. 

Whatever you do, take the time to enjoy this bright, beautiful ray of sunshine. We could all use a little more light.

aj

Thank you berry much

 
fig. a: out of the berry patch

fig. a: out of the berry patch

fig. b: bloobs & black raspberries

fig. b: bloobs & black raspberries

If you’re going to have an absolutely bonkers berry year—and we’re definitely experiencing one in our little neck of the woods right now—there are a few crucial recipes you need to go along with it.  And in my mind, one of them’s gotta be a proper pancake recipe.

Sure, you can fold berries directly into your batter to make, say, blueberry pancakes—you might even have a favourite blueberry pancake recipe on hand—but I’m talking about a “plain” (but definitely not plain) pancake recipe.  One that you can adorn with an unholy combination of butter, syrup, and freshly macerated berries as they come hot off the griddle.  One that will serve you well even when fresh, local berries have gone out of season.  One that’s truly heavenly.

fig. c:  out of “the grocery store”

fig. c: out of “the grocery store”

In this case, the recipe I have in mind is one that first appeared in Canal House Cooking no. 6 (“The Grocery Store”) way back in 2011.  But when Melissa Hamilton and Christopher Hirsheimer—the prodigious talents behind Canal House—compiled a year’s worth of their best recipes for their collection Canal House Cooks Everyday the following year, it’s not one that made the cut, strangely.  Hamilton & Hirsheimer were generous enough to share Hirsheimer’s family recipe for “Buttermilk Love Cakes” in their book—and that’s a blessing, there’s no doubt about it—but this recipe is similarly phenomenal, and it’s maybe just a tiny bit easier to get exceptional results with, because it’s maybe just a tiny bit easier to source good sour cream (which this recipe calls for) than it is to source good buttermilk (which the “love cakes” call for).  (Then again, maybe not—depends on where you live.)

fig. d: these gorgeous pancakes are a delicious part of a complete breakfast

fig. d: these gorgeous pancakes are a delicious part of a complete breakfast

Like virtually all of the very best pancakes, these sour cream pancakes are light as a feather and anything but banal.  These are pancakes that turn out beautifully, they’re supremely flavourful, and they marry wonderfully with the mixture of raspberries, blueberries, and black raspberries we’ve been enjoying in recent days.

fig. e:  the red & the blue

fig. e: the red & the blue

So without any further ado…

Canal House Cooking’s Sour Cream Pancakes

1 cup sour cream*

3 large eggs, separated

2 tablespoon melted butter

7 tablespoons cake flour

1 tablespoon sugar

1/2 teaspoon baking soda

1/2 teaspoon salt

Vegetable oil

Whisk the sour cream and egg yolks together in a medium mixing bowl.  Whisk in the melted butter.  Put the flour, sugar, baking soda, and salt into a sieve and sift into the sour cream mixture.  Lightly whisk until just mixed [a few lumps won’t hurt anything, according to Hamilton & Hirsheimer].

Put the egg whites into a clean mixing bowl and beat with a whisk until soft peaks form (this takes a bit of elbow grease, but it’s worth it). Use a rubber spatula to fold them into the batter.  Please, for the love of god, don’t overwork the batter.  Keep it light and fluffy.

Pour a little oil on a nonstick griddle or large skillet.  Wipe out the oil with a paper towel, leaving only the thinnest film.  Heat the griddle over medium or even medium-low heat [depends on your range] until hot.  Pour about 1/4 cup of batter on the griddle.  Cook until little holes appear on the surface and the cooked side of the pancake—go ahead and lift the edge to check!—is golden brown, about 1 minute on each side, if your griddle is at the proper temperature.  Slather on the butter, a few good glugs of real maple syrup, and and a heap of freshly macerated and/or fresh berries if you have them on hand.

Devour.

{Makes about sixteen 4-inch pancakes.}

[adapted ever so slightly from Melissa Hamilton & Christopher Hirsheimer’s Canal House Cooking, No. 6, 2011]

fig. f:  unholy mess

fig. f: unholy mess

Keep your berry mixture simple.

Mix together whatever fresh, ripe, local berries you have on hand (as long as they’re nice and sweet—like raspberries, blueberries, black raspberries, red currants, and blackberries**).  Depending on the amount of berries, stir in a tablespoon, or two (or three, or four…) of white sugar (the basic formula we use is about one tablespoon of sugar per cup of berries).  Crush the berries a little as you stir the sugar in evenly, bruising them so that they release their juices more readily.  Don’t overdo it with the sugar, but, if you’re going to sweeten them at all, don’t underdo it either.  This berry mix should be an absolute joy to eat and it should produce a fair bit of beautiful berry syrup, too.

If you prefer, do a mixture of macerated berries and entirely fresh berries, like the combination of macerated raspberries and fresh blueberries you see in the accompanying photographs.

And if you’re a purist, go ahead and top your pancakes with the simple pleasures of fresh, raw, unsweetened berries.  We won’t judge.

But, please, while berries are at their peak—as they are right now—insist on fresh, local berries if you can—preferably ones you harvested or foraged yourself.

aj

* We prefer Cabot Creamery sour cream whenever we can get our hands on it.

** Basically, you want to avoid things like gooseberries and blackcurrants, which are essentially inedible in their raw state (at least by humans).