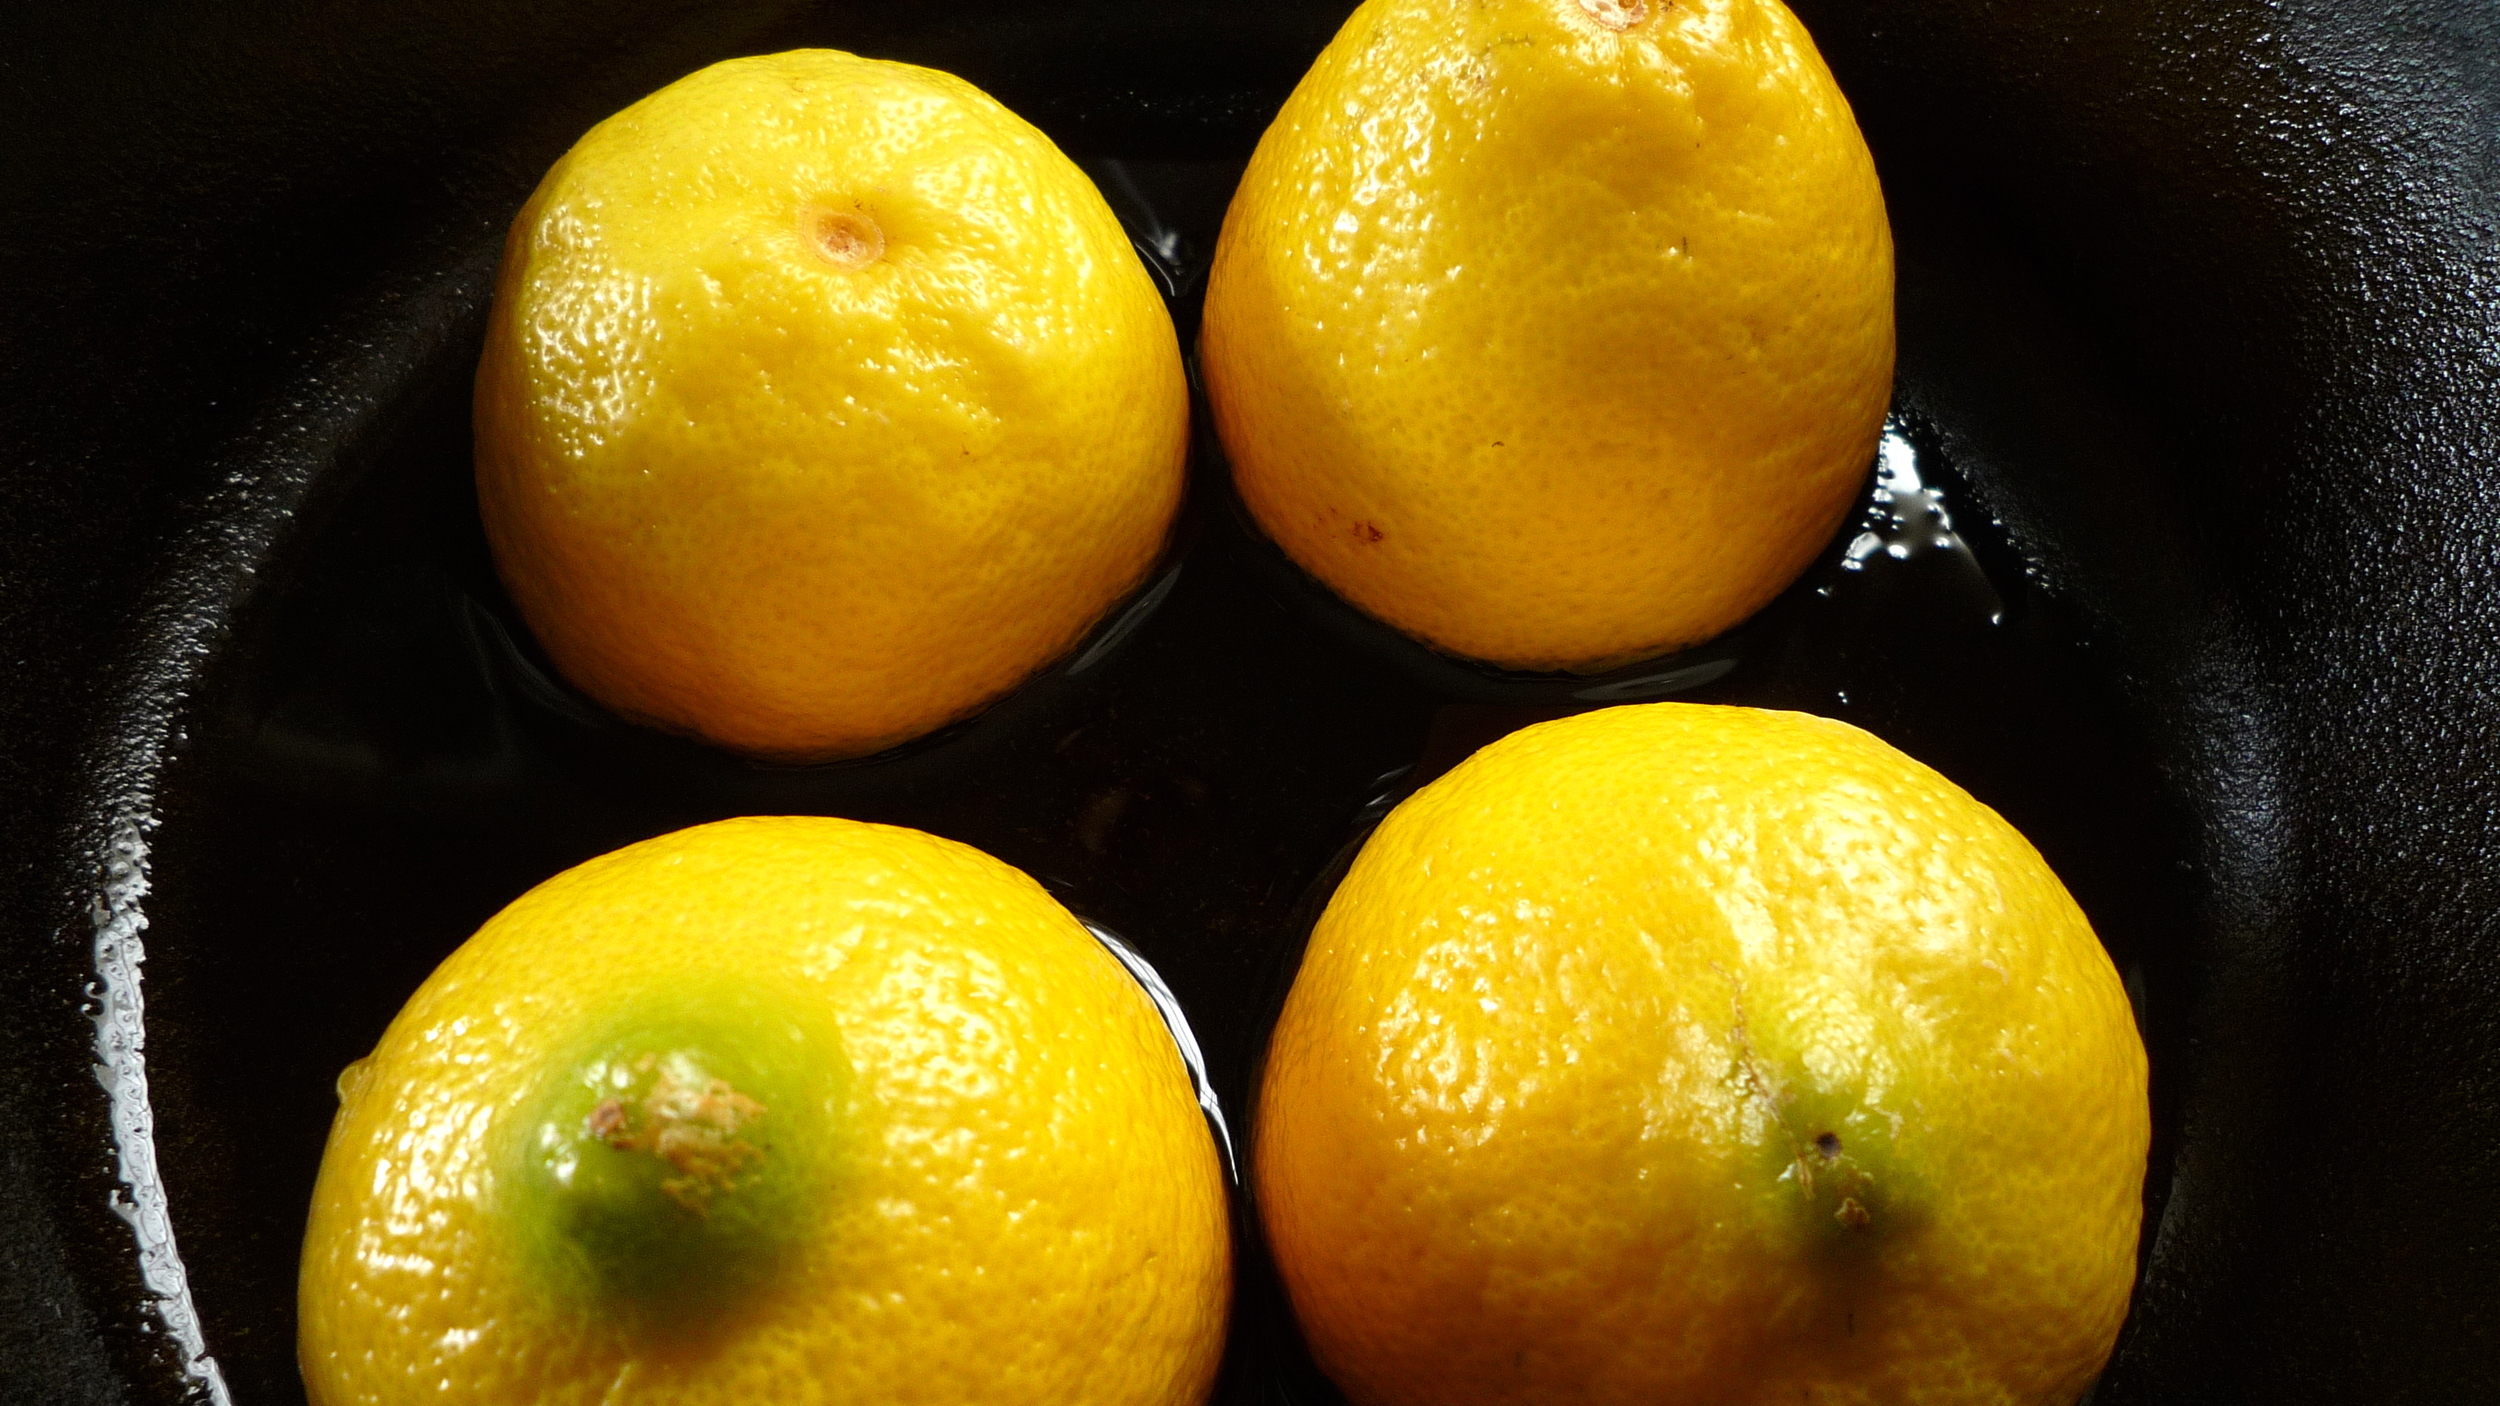
Plum Dandy


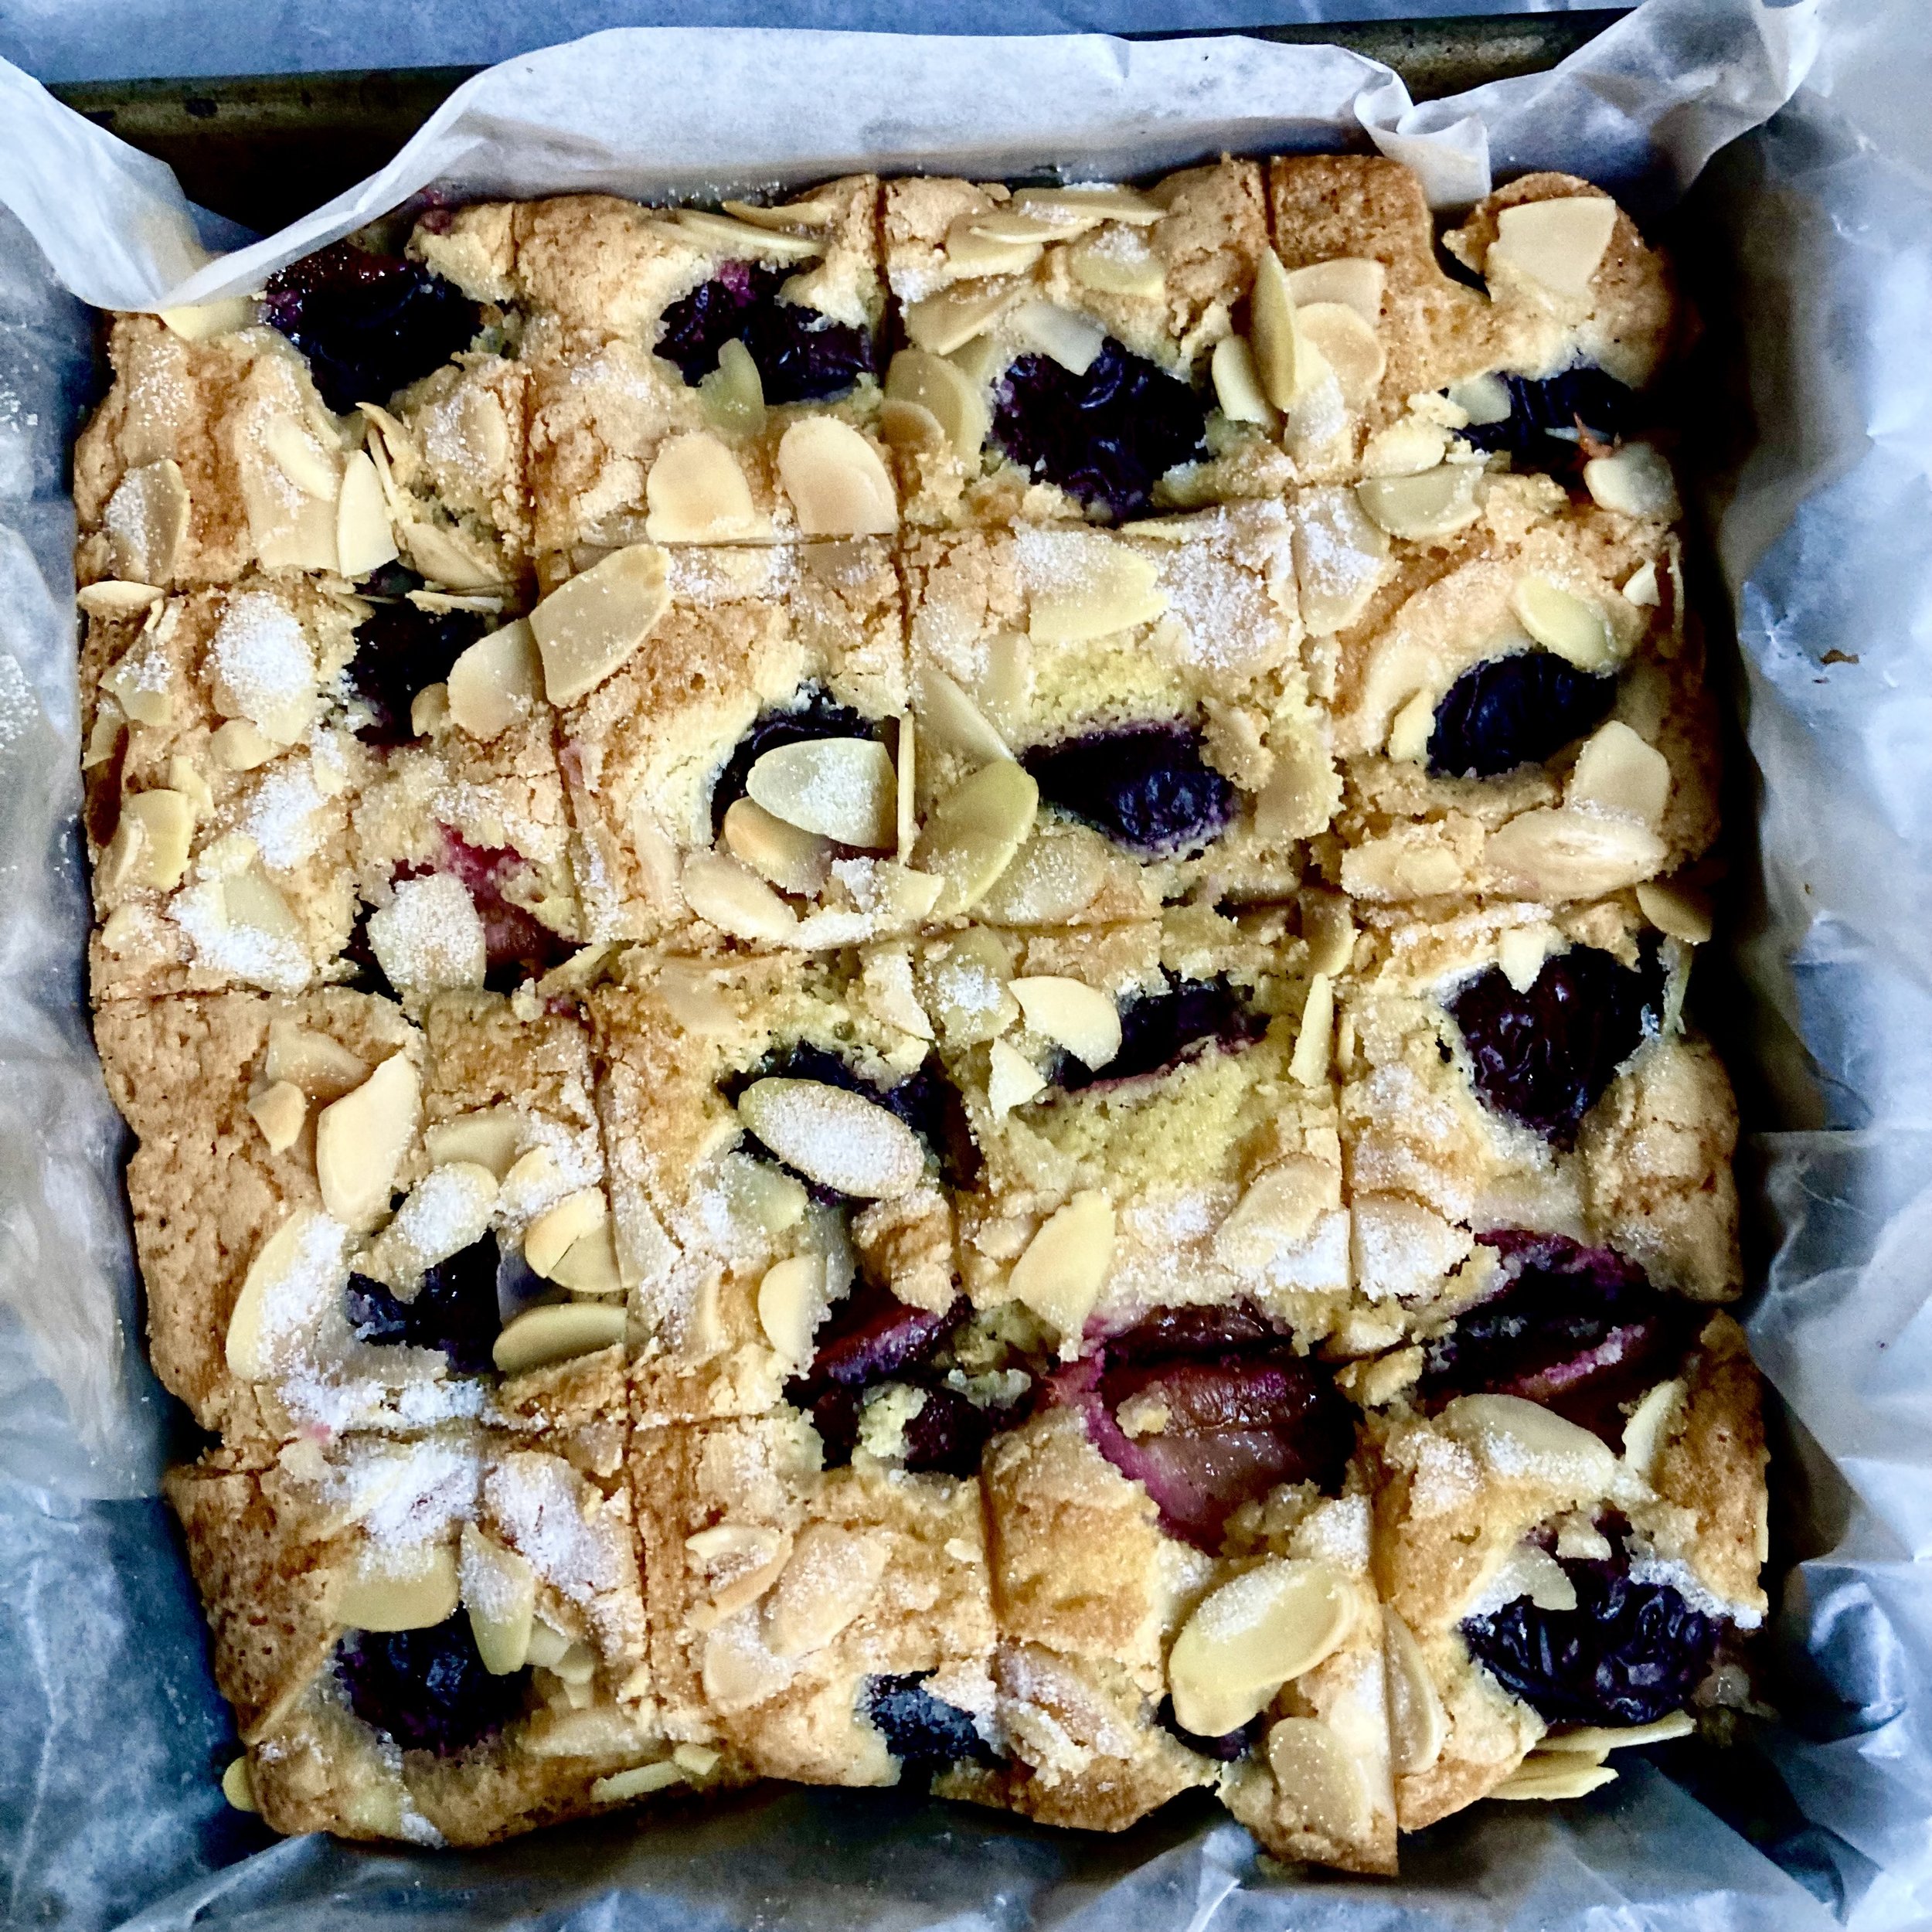
Please, don’t forget about Michelle’s Simply Beautiful Plum Cake. It’s brilliant. I mean that.

fig. a: simply beautiful

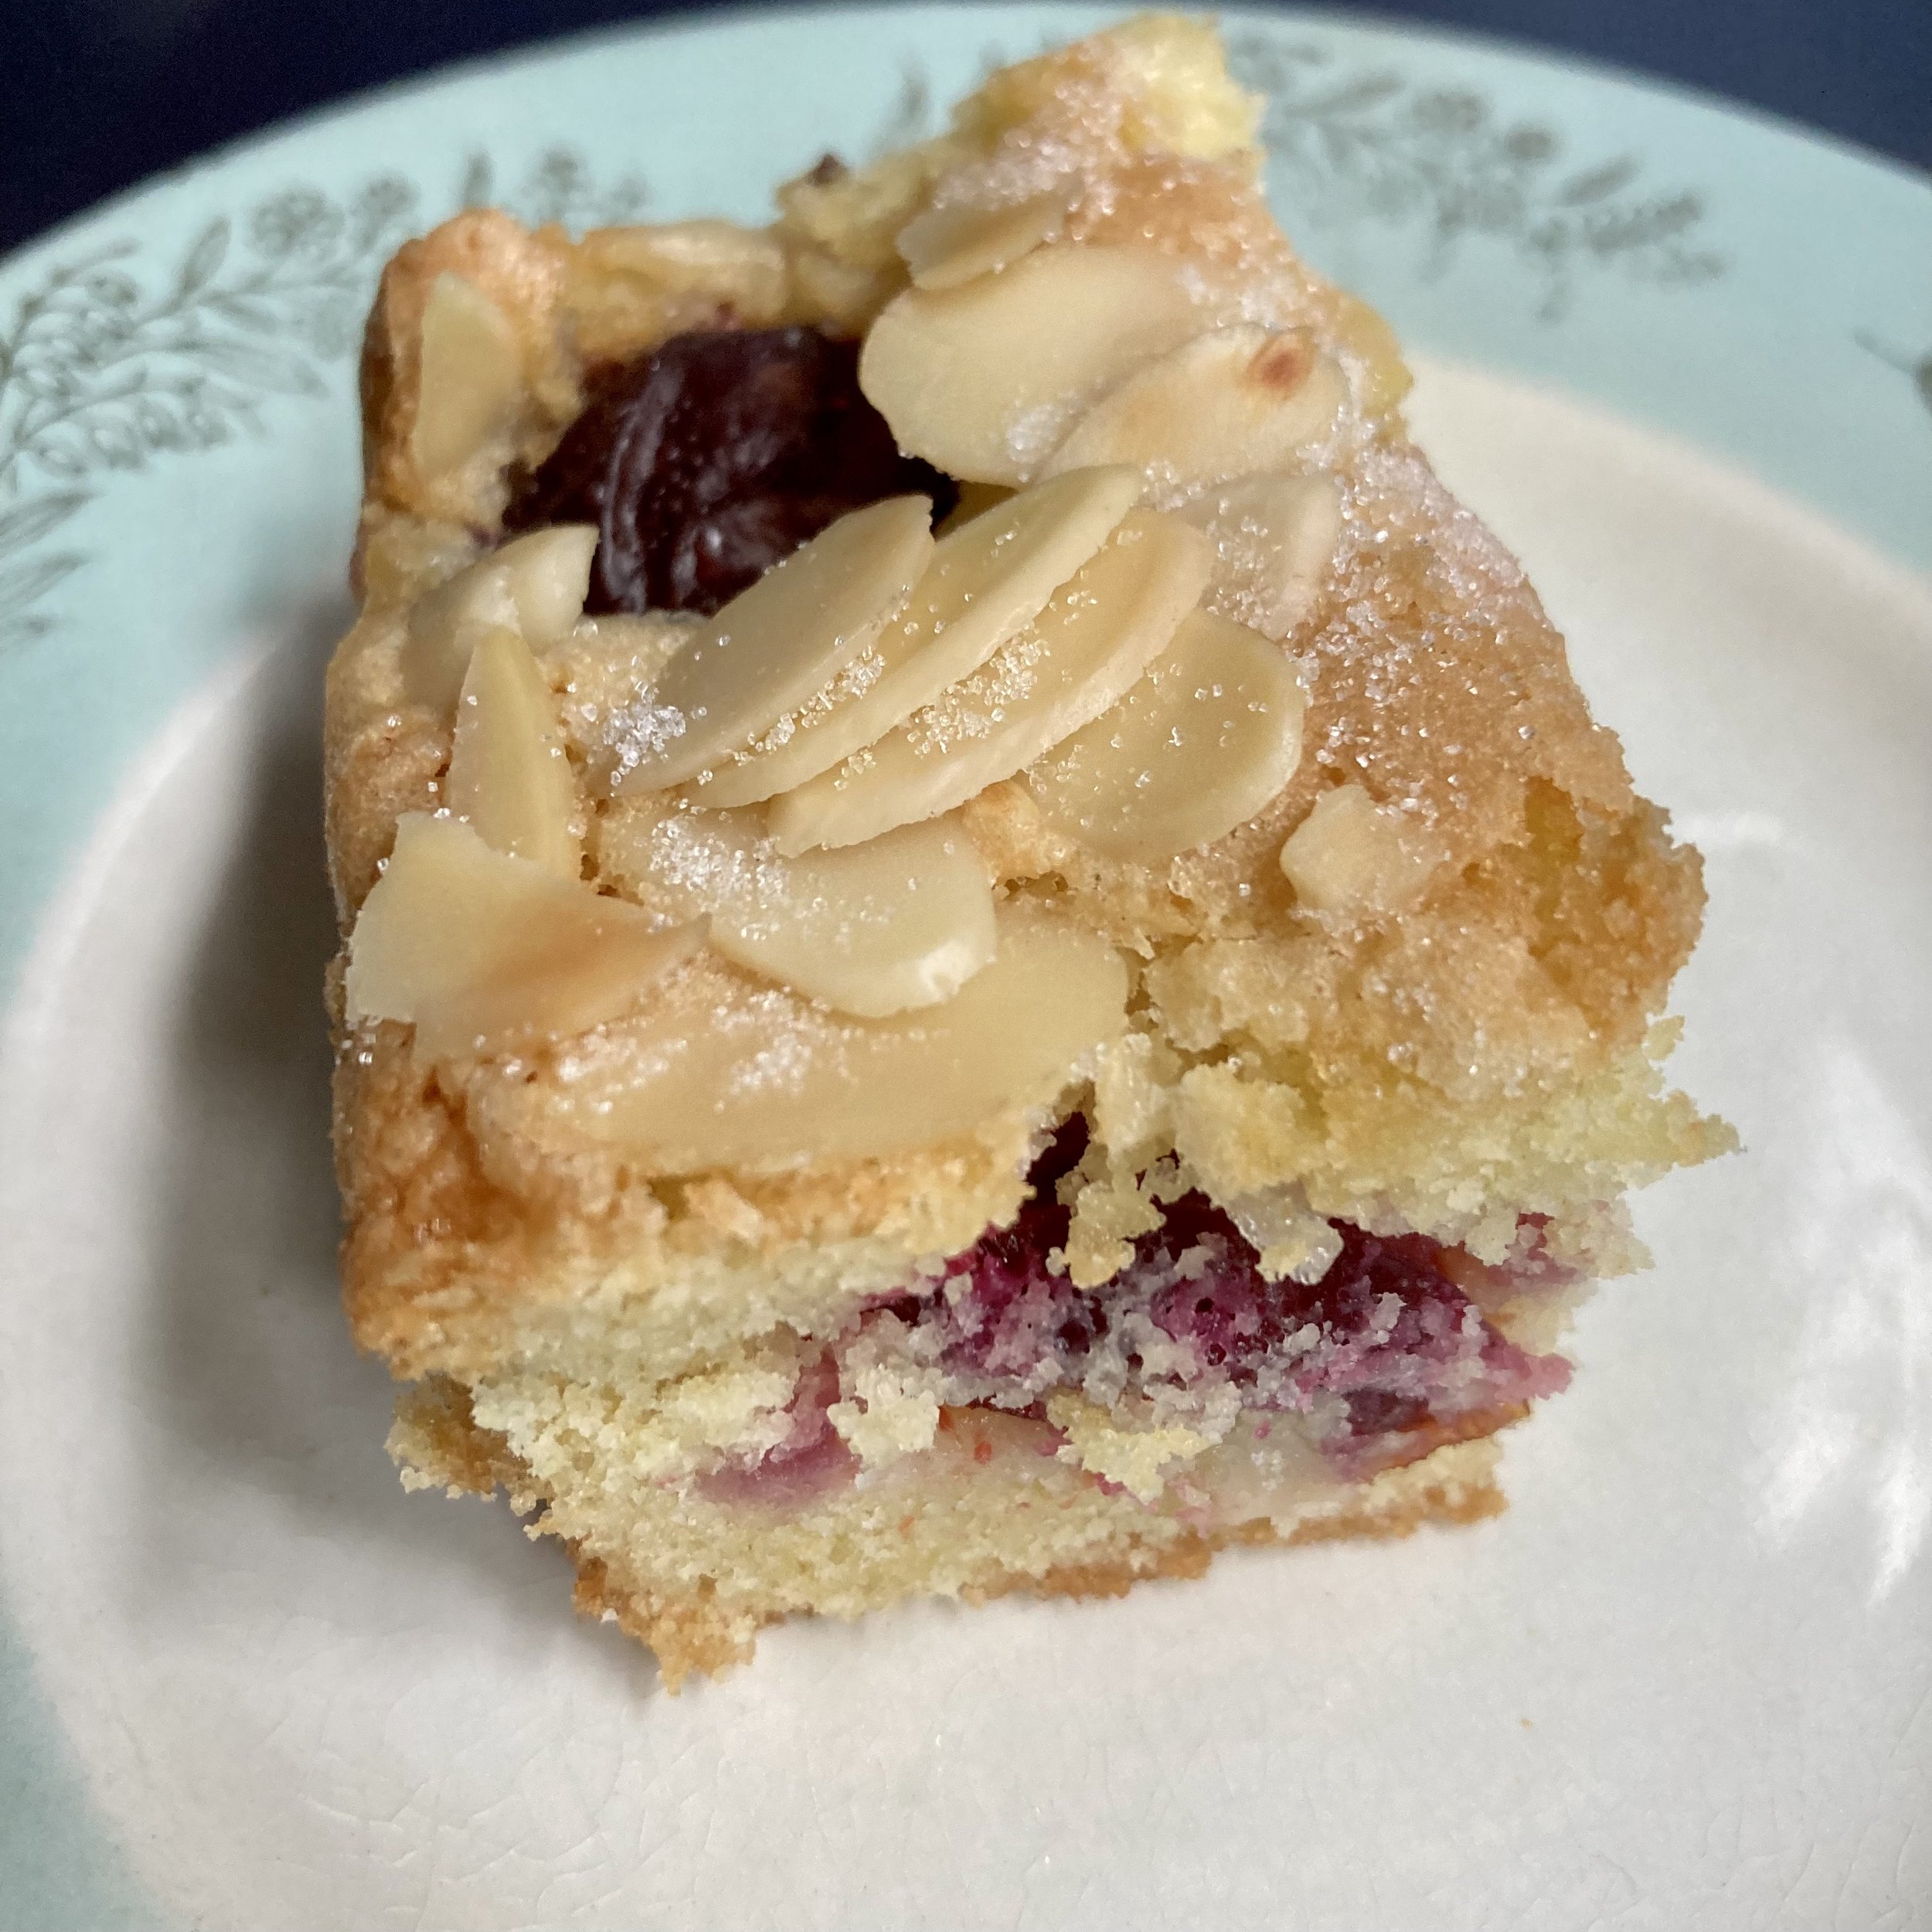
fig. b: a simple slice of cake

I mean, just look at that. It’s great with coffee and tea, too.

fig. c: part of this complete meal

If you’re lucky enough to still have plums available where you live, don’t hesitate. Find the finest plums you can get your hands on,

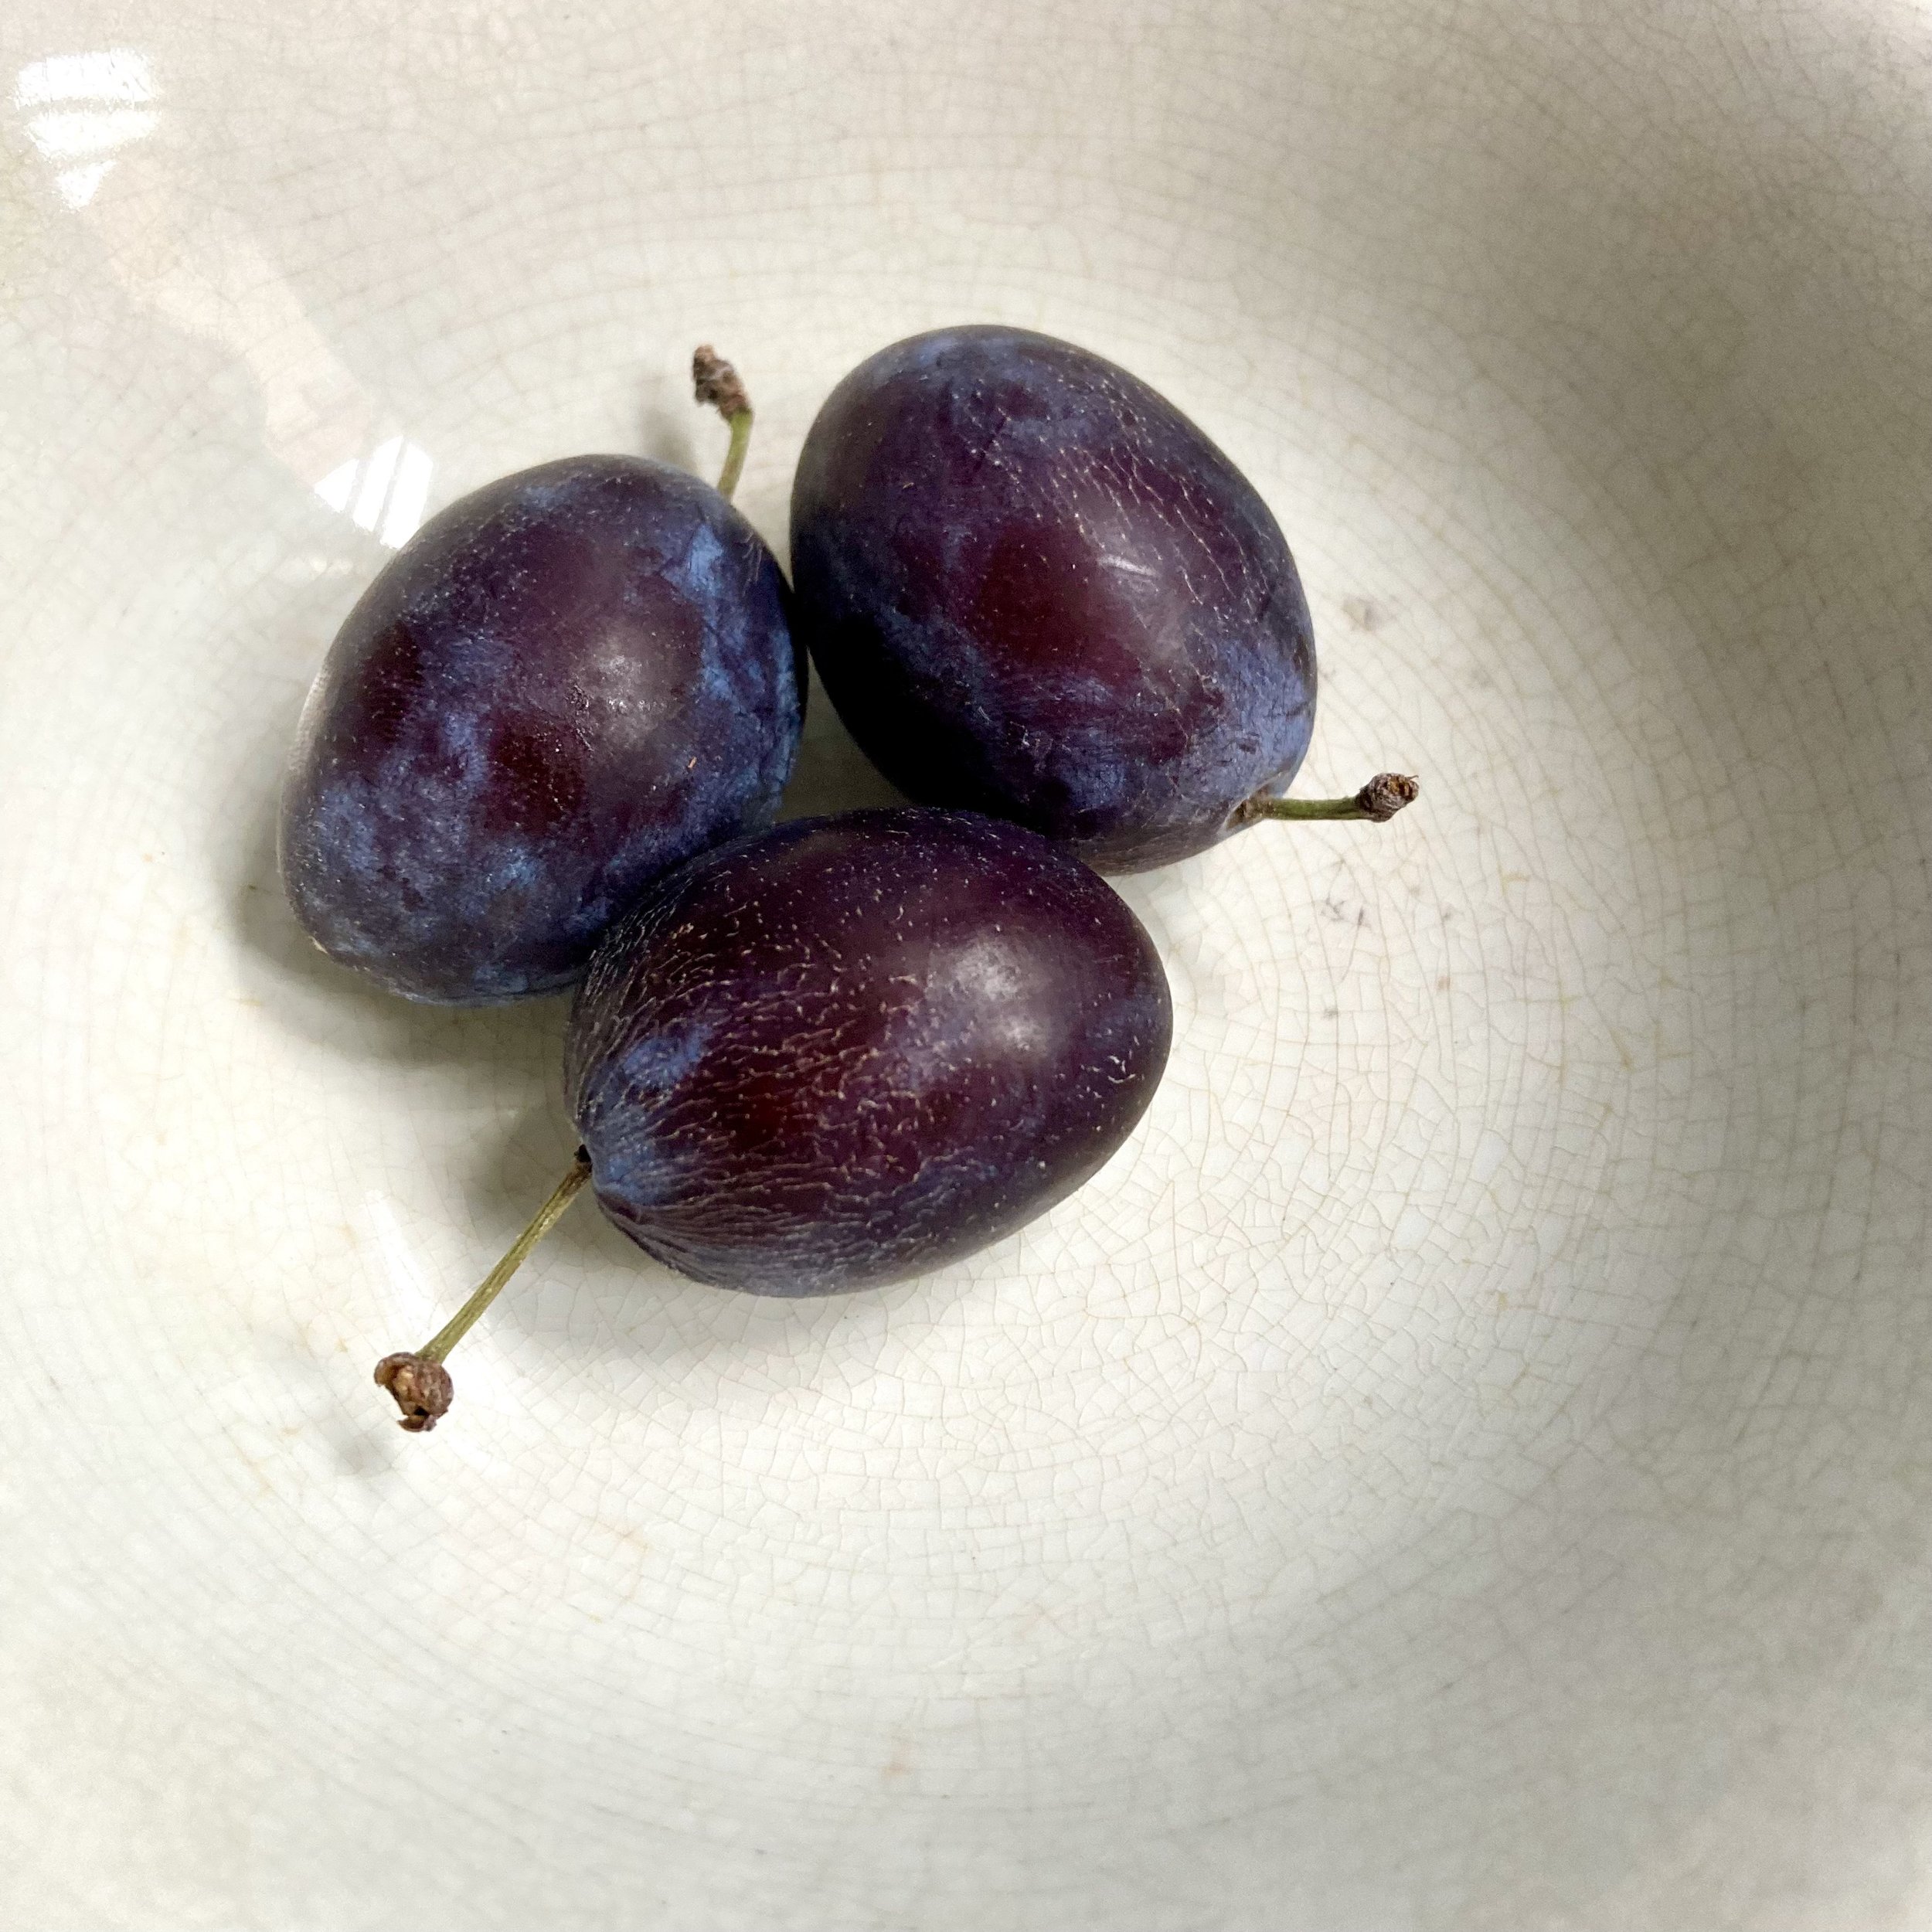
fig. d: fine specimens

like these beauties I found at a Polish grocer.

If you can’t find plums, use the best, juiciest prunes you can find, like the justifiably famous pruneaux d’Agen.

If you’re not into prunes, make it with apples.

All I know is that this is a cake that’s capable of generating powerful emotions. When I brought a plum cake to work a couple of weeks ago, one of my T.A.s sent me the following stream-of-consciousness message afterwards: “Please pardon the impropriety of this response. F*** me that was amazing you did an amazing job I loved it I got the last piece way to go that was freaking amazing.”

You’ve been warned.

aj

What We Need Now 1: Pan Pizza

 
fig. a: The Joy of Pan Pizza

fig. a: The Joy of Pan Pizza

I’m definitely not the first person to point this out, but what we need now are simple, satisfying recipes; recipes that don’t require a bunch of obscure ingredients, but instead feature items that can be easily found at your local supermarket, green grocer, or co-op; recipes that actually turn out well (exceptionally well) and that are rewarding to make.

And if these recipes should have a touch of nostalgia to them, all the better.  

Enter pan pizza.

So much of the literature on pan pizza—and, believe me, there is a fairly extensive body of literature on the topic—is dripping with nostalgia.  Almost literally so.  There’s a real obsession with trying to recreate those buttery, decadent crusts of yore, topped with excessive amounts of gooey cheese, and lots of piping-hot, slightly sweet tomato sauce—the ones that you cherished as a child.  The ones you may still cherish today.

While my family definitely ate a considerable amount of pizza, I didn’t grow up in a pan pizza household.  I never had that powerful association with Pizza Hut and its ilk that so many others had.  I wasn’t entirely averse to the pan pizza thing—its charms were pretty obvious to me—but, for better or for worse, other types of pizza exerted a stronger influence on me.

All of which is to say, that when I got interested in making pizza at home a number of years ago, I gravitated toward other styles:  mainly Neapolitan (or rather, Neapolitan-esque), New York-style (or what might more accurately be described as New York-ish), some approximation of Bay Area pizzas we’d admired in the past, and sheet pizzas that mimicked those of Sullivan Street Bakery.  Even though I often read about pan pizza with interest, it took me years to actually get around to trying one of these new-school, homemade pan pizza recipes out.

Big mistake.

When I began to experiment with pan pizza a couple of years ago I quickly realized that these were among the very easiest, most consistently excellent, and most satisfying home pizza recipes out there.  They didn’t require ingredients that were difficult to find, and you didn’t need a pizzaiolo’s touch or a whole lot of fancy equipment.  Hell, you didn’t even need a pizza peel (or some kind of substitute for one), you just needed a 10-inch skillet, preferably cast-iron.

fig. b:  Look, Ma, no peel!

fig. b: Look, Ma, no peel!

My go-to pan pizza recipe is actually a mash-up of two popular recipes that have appeared online in recent years:  one from Serious Eats, and the other from The New York Times Magazine.

The dough recipe comes from J. Kenji López-Alt, it’s incredibly easy to make, and, even better, it’s foolproof—or as close to foolproof as a recipe can be. In fact, that’s what it’s called: Foolproof Pan Pizza Recipe.  The only investment needed is time.  I typically start the process late at night, before I go to bed.  This step takes mere minutes.  The next morning I form my dough balls.  Again, this step takes no more than 10-15 minutes (tops!).  And by late afternoon/early evening, my pizza dough is ready to go—the only thing is that you need to allow 2 hours for your dough to temper and come to room temperature.  Once your dough has tempered, you’ll find it incredibly easy to handle and stretch.  You’ll also find it very much alive.  Twenty to twenty-five minutes later, you’ll be pulling piping-hot pan pizza from the oven—quite likely, the lightest, tastiest pan pizza you’ve ever tasted.  Sounds do-able, right?

Kenji’s accompanying sauce recipe is perfectly excellent.  But even better, in my opinion, is a sweeter, somewhat more decadent sauce developed by Anthony Falco of Roberta’s.  It, too, is foolproof—or as close to it as imaginable—and its Bit-o-Honey finish is the ultimate flavour sensation with these crispy, chewy, buttery, and wonderfully gooey pies.

J. Kenji López-Alt’s Seriously Foolproof Pan Pizza

400g bread flour, plus more for dusting

10g kosher salt, plus more for sprinkling

4g instant yeast

275g water

8g extra-virgin olive oil, plus more to coat pans and for drizzling

1 1/2 cups pizza sauce (such as Anthony Falco’s Pan Pizza Sauce [see below])

12 ounces grated full-fat, low moisture (dry) mozzarella cheese

2 ounces grated Parmesan or Pecorino Romano cheese

1.  Make the pizza dough, keeping in mind that this is a slow-ferment dough that requires over 12 hours to be made properly, and that will benefit from even more time.  (My normal schedule has been to mix the dough late at night before I go to bed.  Form the pizza doughs the next morning.  Wrap them and place them in the fridge to hold all day.  Then remove from the fridge two hours before baking so they can temper at room temperature [see details below].)

2.  Combine flour, salt, yeast, water, and oil in a large bowl. Mix with hands or a wooden spoon until no dry flour remains. (The bowl should be at least 4 to 6 times the volume of the dough to account for rising.

3.  Cover bowl tightly with plastic wrap, making sure that the edges are well sealed, then let rest at cool room temperature (no warmer than 75°F) for at least 8 hours and up to 24. Dough should rise dramatically and fill bowl. In a hot kitchen, the dough may overproof near the end of that range.

4.  Sprinkle top of dough lightly with flour, then transfer it to a well-floured work surface. Divide dough into 2 pieces and form each into a ball by holding it with well-floured hands and tucking the dough underneath itself, rotating it until it forms a tight ball with a smooth surface.

5.  If you’re aiming to bake some pies in about 2 hours, skip the next step and move on to Step #7.

6.  If you still need some time, place the doughs on a well-floured small rimmed baking tray, cover with plastic wrap, and place in the fridge for several hours (up to 36).

7.  Pour 2 tablespoons oil in the bottom of two 10-inch cast iron skillets. Place 1 dough ball in each pan and turn to coat evenly with oil. Using a flat palm, press dough around the pan, flattening it slightly and spreading oil around the entire bottom and edges of the pan. Cover tightly with plastic wrap and let dough sit at room temperature for 2 hours (at room temperatures above 75°F, the dough may require less time to rise; at temperatures below 65°F/18°C, it may require more time). After the first hour, adjust an oven rack to the middle position and preheat oven to 550°F (290°C).

8.  After 2 hours, dough should be mostly filling the pan up to the edges. Use your fingertips to press it around until it fills in every corner, popping any large bubbles that appear. Lift up one edge of the dough to let any air bubbles underneath escape, then repeat, moving around the dough until there are no air bubbles left underneath and the dough is evenly spread around the pan.

9.  Top each round of dough with 3/4 cup sauce, spreading sauce to the very edge with the back of a spoon. Sprinkle evenly with mozzarella cheese, all the way to the edges. Season with salt. Drizzle with olive oil.

10.  Transfer pan to oven and bake until top is golden brown and bubbly and bottom is golden brown and crisp when you lift it with a thin spatula, 12 to 15 minutes. Immediately sprinkle with grated Parmesan or Pecorino Romano cheese, if using. Using a thin spatula, loosen pizza and peek underneath. If bottom is not as crisp as desired, place pan over a burner on your stove and cook on medium heat, moving the pan around to cook evenly until it is crisp, 1 to 3 minutes. Remove the pizzas and transfer to a cutting board. Cut each pizza into 6 slices and serve immediately.

Now that we’ve learned to make the dough and bake the pizza, it’s time to hit the sauce.

Anthony Falco’s Pan Pizza Sauce

2 tablespoons olive oil

1 clove garlic, peeled and minced

2 tablespoons tomato paste

Pinch of chile flakes, to taste

1 x 28-ounce can whole San Marzano tomatoes, crushed by hand

2 tablespoons honey

1 teaspoon kosher salt, or to taste

Place a saucepan over medium-low heat, and add to it 2 tablespoons olive oil. When the oil is shimmering, add the minced garlic and cook, stirring, until it is golden and aromatic, approximately 2 to 3 minutes.

Add the tomato paste and a pinch of chile flakes, and raise the heat to medium. Cook, stirring often, until the mixture is glossy and just beginning to caramelize.

Add the tomatoes, bring to a boil, then lower heat and allow to simmer for 30 minutes, stirring occasionally.

Take sauce off the heat, and stir in the honey and salt, to taste, then blend in an immersion blender or allow to cool and use a regular blender.

Use as directed.

Okay, now that we’ve covered the basics, feel free to get creative. 

Personally, I like my pan pizza pretty simple and basic:  dough + sauce + cheese, with maybe some chili flakes, or some hot sauce, or some hot honey added at the last second, just before I’m about to chomp my still-blistering-hot slice. 

Pepperoni is considered by many to be a classic variation, especially by contemporary hot honey enthusiasts, but I never make it at home. 

What I will highly recommend is a version that’s still very much possible RIGHT NOW, while you can still find choice local cherry tomatoes around. 

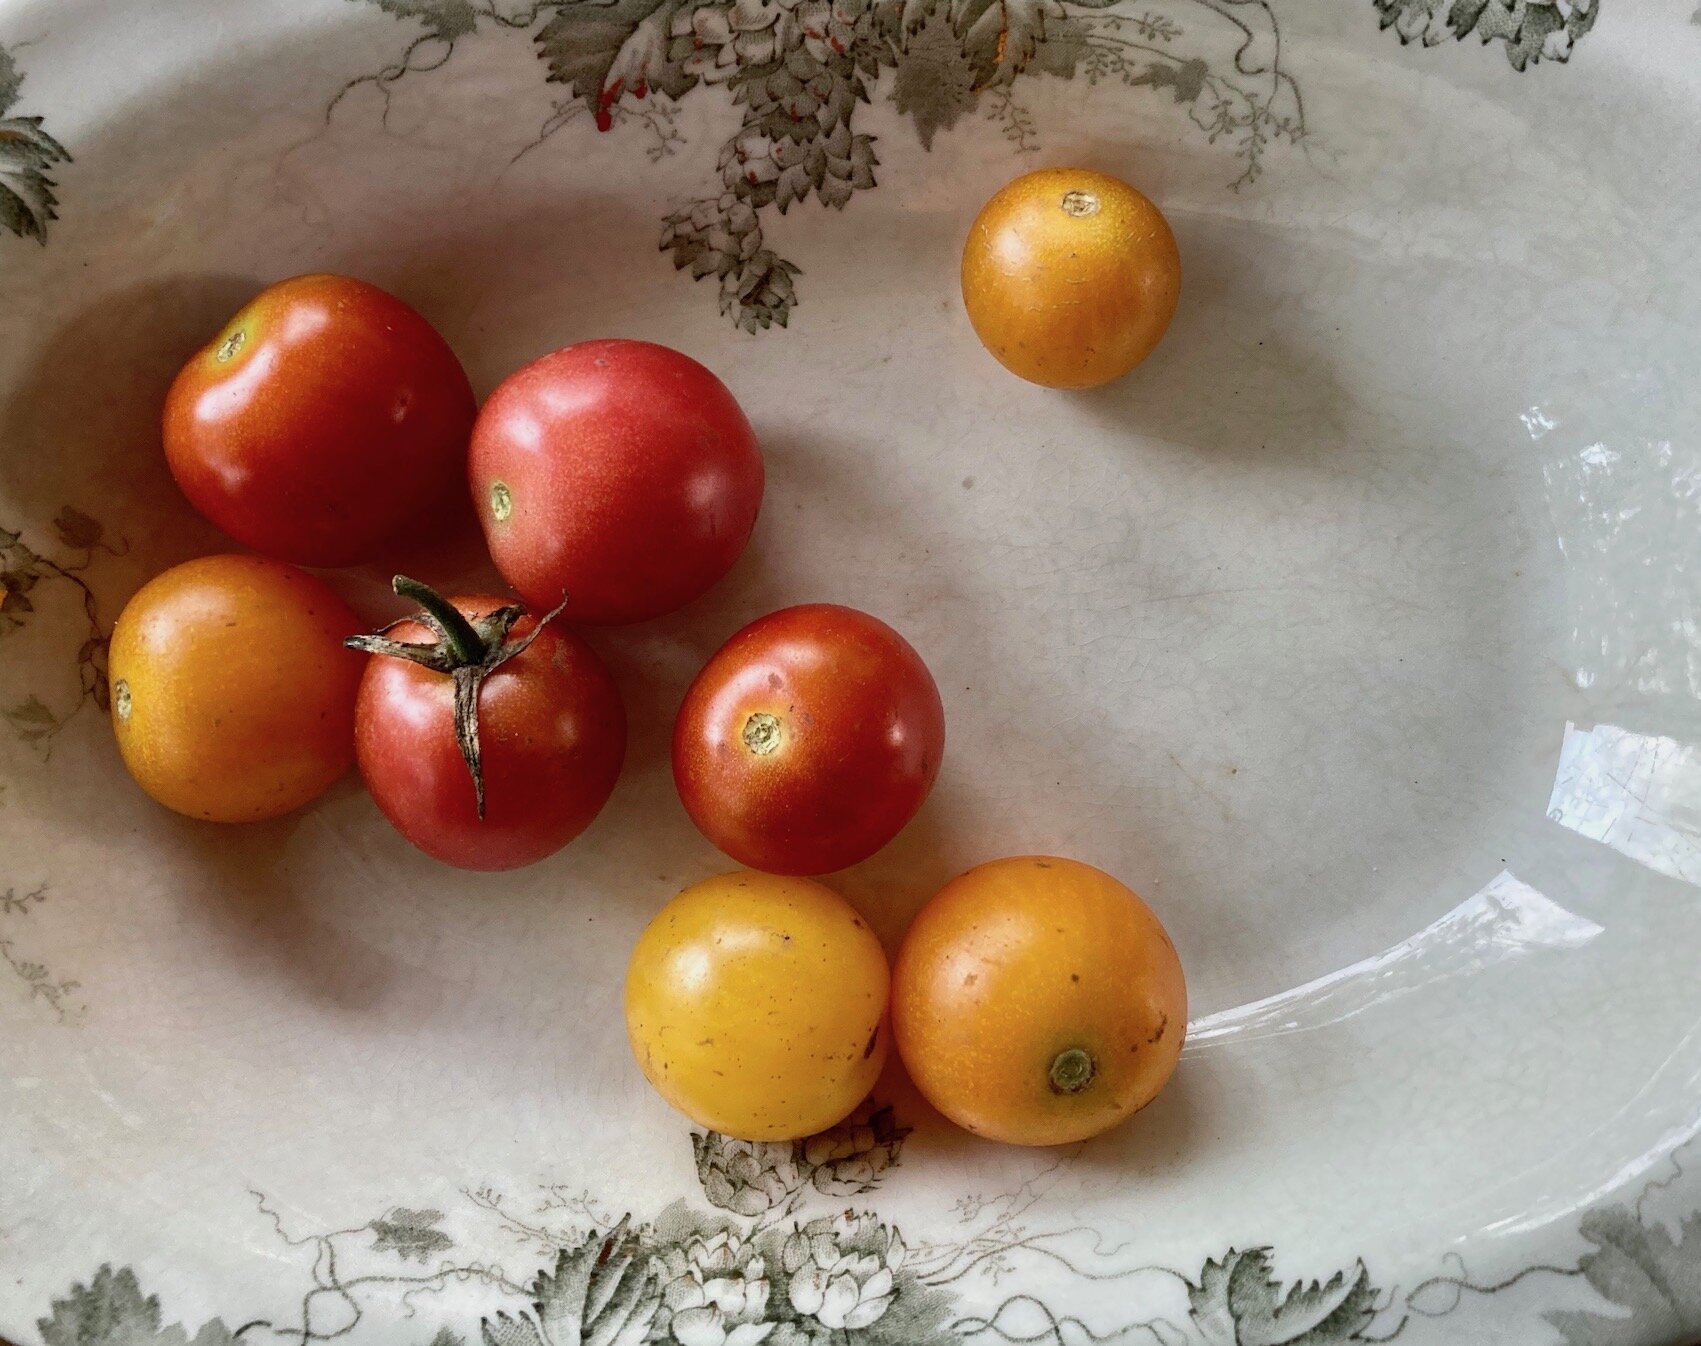
fig. c:  How ‘bout them tomatoes?

fig. c: How ‘bout them tomatoes?

It’s super simple.  It just involves adding cherry tomato slices to a basic tomato-cheese pie, but if you source the right tomatoes, and you’re the kind of tomato fanatic that I am, they will take your pan pizza into the stratosphere.  Plus, it’s got a cute name.

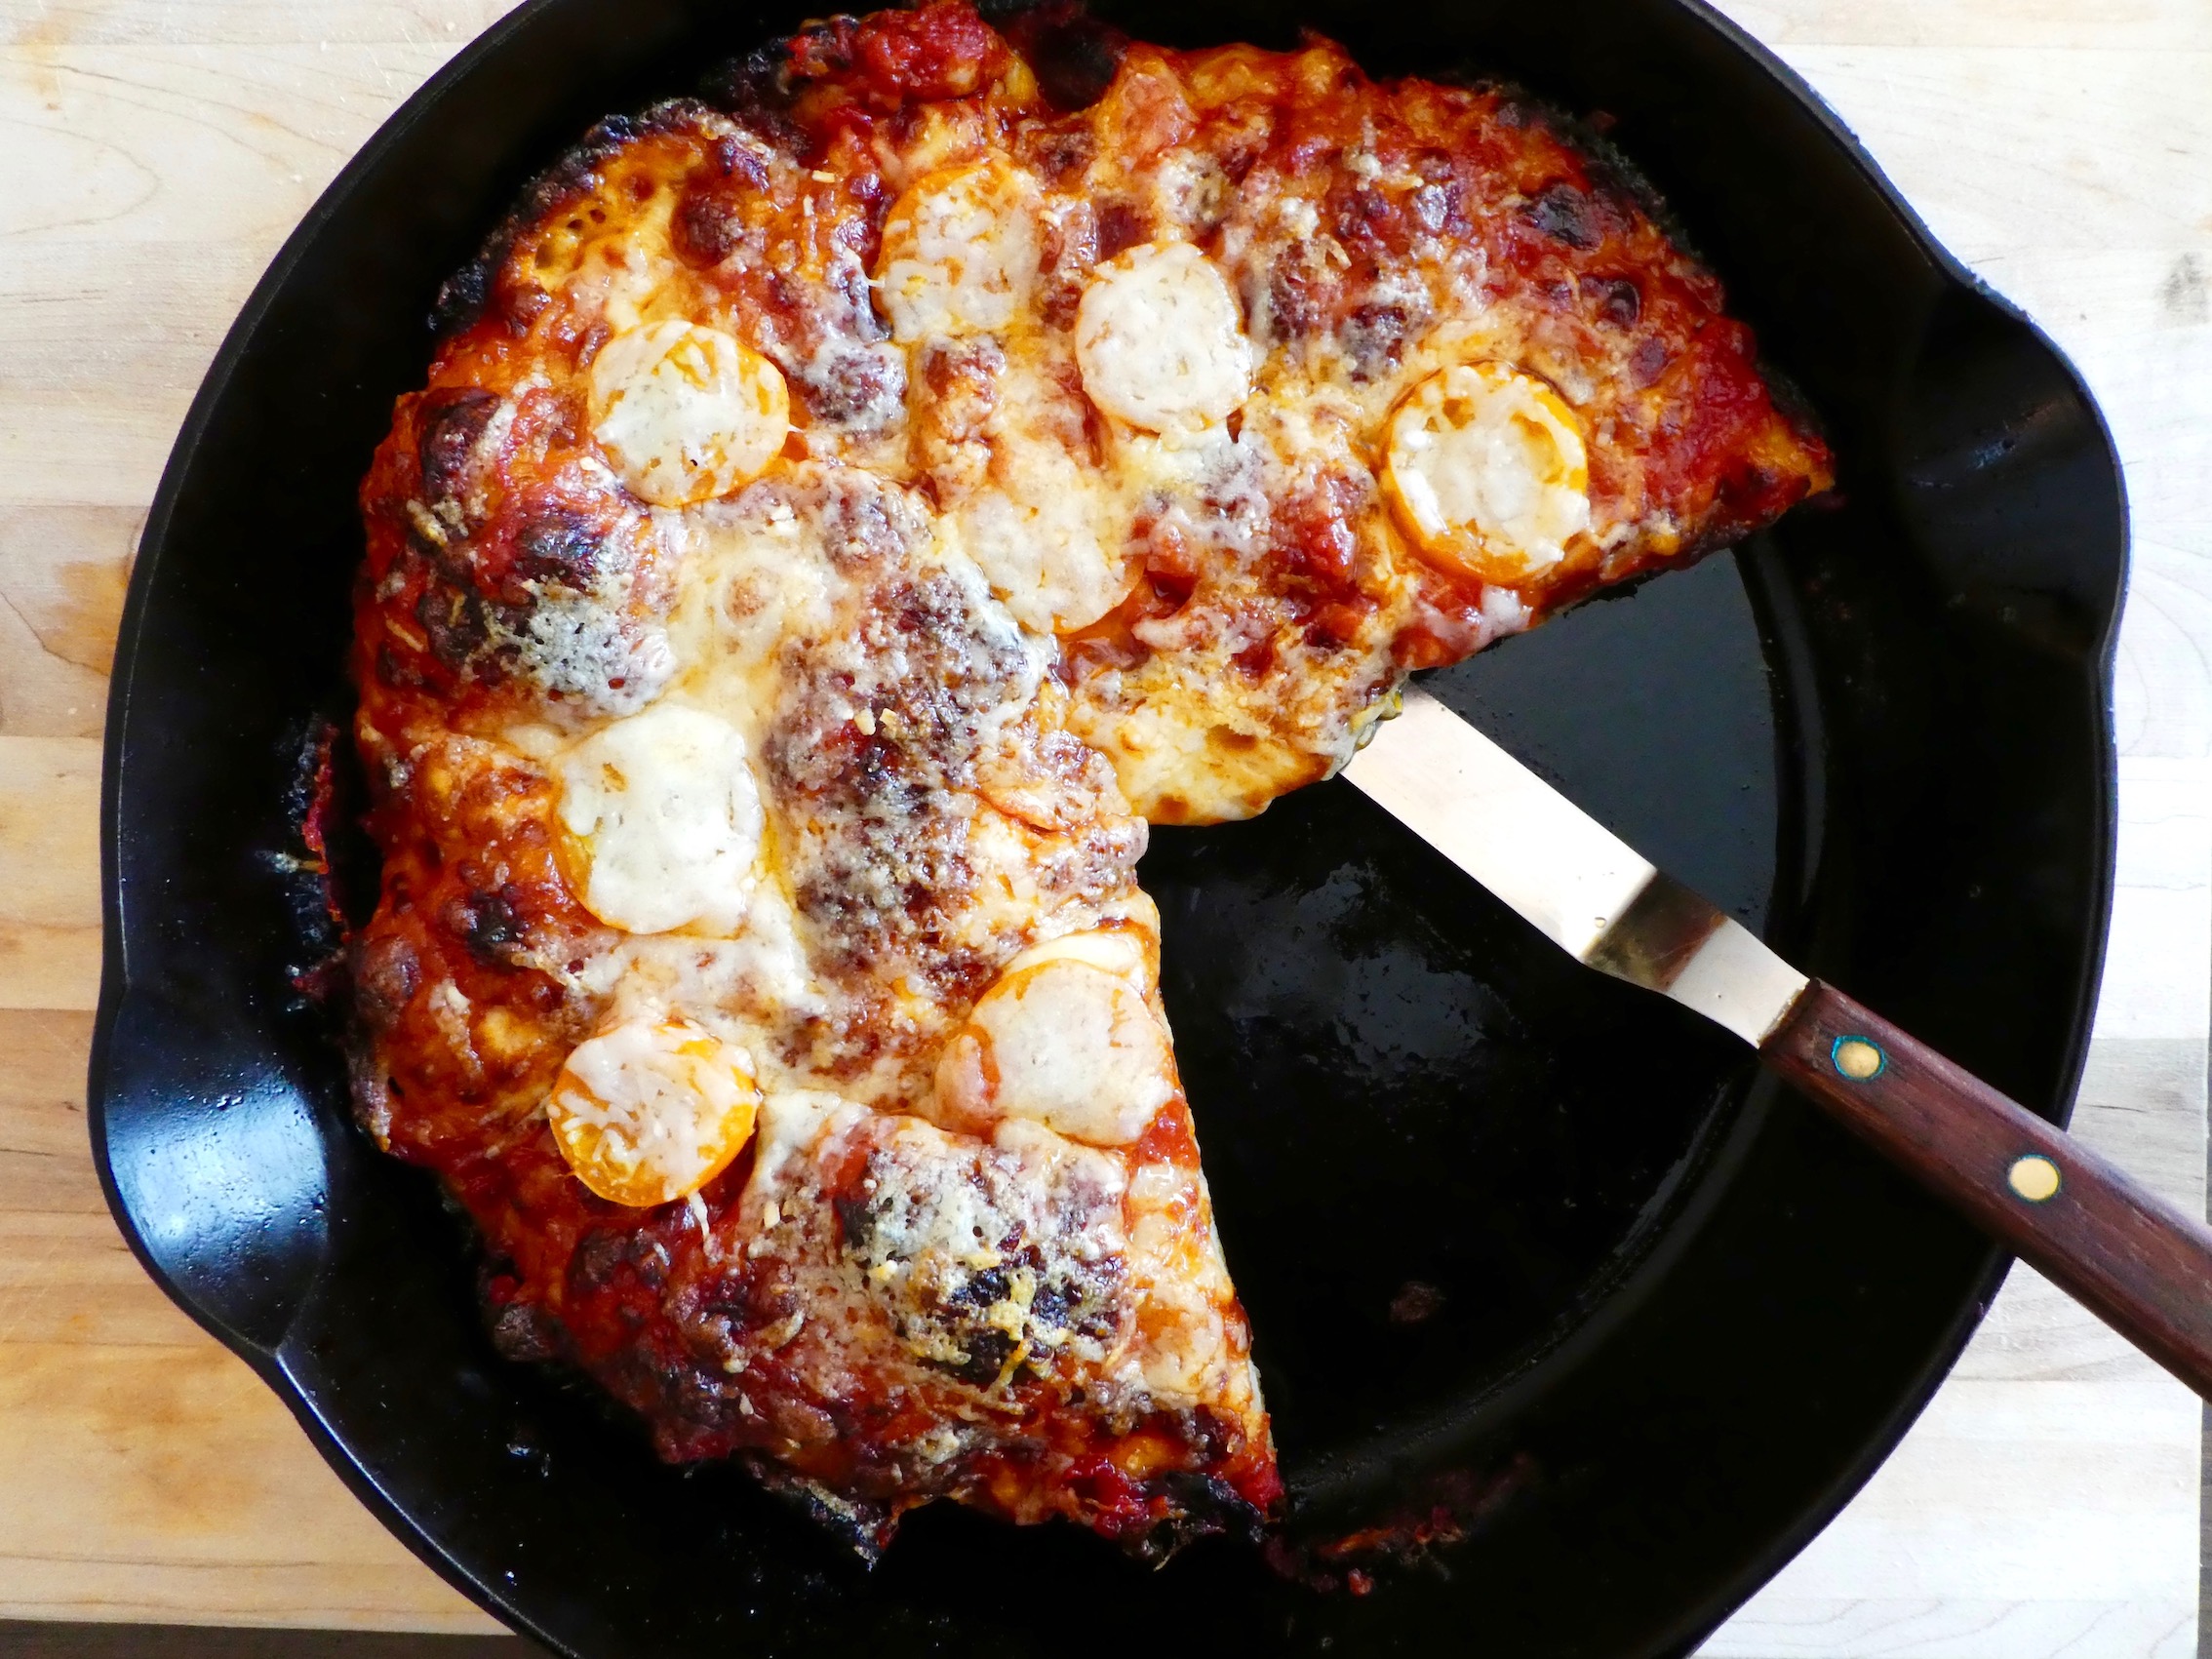
fig. d:  What more do you need?

fig. d: What more do you need?

A.J.’s Tomayto-Tomahto Pan Pizza

Additional topping:

4-5 fresh, locally grown, organic cherry tomatoes (the sweetest, tastiest ones you can find) [per pie], sliced

Revised instructions:  

Follow instructions 1-9 to a T.  At that point follow these steps:

10.  Transfer pan to oven and bake until top is golden brown and bubbly and bottom is golden brown and crisp when you lift it with a thin spatula, 12 minutes. Remove from oven.  Distribute cherry tomato rounds evenly, pressing them gently into the molten cheese, while being careful not to press too hard, thereby scalding yourself.  Sprinkle with grated Parmesan or Pecorino Romano cheese. Return to oven and bake for another 2-3 minutes, until tomatoes are golden-brown and Parmesan or Pecorino is also bubbling wildly.  Using a thin spatula, loosen pizza and peek underneath. If bottom is not as crisp as desired, place pan over a burner and cook on medium heat, moving the pan around to cook evenly until it is crisp, 1 to 3 minutes. Remove the pizzas and transfer to a cutting board. Cut each pizza into 6 slices and serve immediately, keeping in mind that this pizza is a hot, molten, delicious, but dangerous mess at the moment.  Be careful.  Proceed with great anticipation, and an ounce of caution.

You’re all set.  

What more do you need?

aj


Not-quite-takeout-style Sesame Noodles

 
fig. a:  sesame noodles in the making

fig. a:  sesame noodles in the making

If you read the New York Times's food section, especially its Cooking blog, you're probably already familiar with this one.  Hell, if you pay attention to food tips and trends online with any degree of dedication, you're probably already familiar with this one.  There's a reason it's a New York Times designated Classic--it's been making the rounds for years now.  And that's a good thing, because it's a recipe that deserves to circulate widely.  It's a great recipe and it comes with a great story.

The recipe in question is Takeout-Style Sesame Noodles, of course, and it first appeared in 2007 as part of a story on the advent of Sesame Noodles in New York City titled "New York Noodletown."  The story came courtesy of Sam Sifton, it was populated by legendary figures like Shorty Tang, and it featured lovely passages like this one, on the post-revolutionary wave of Chinese immigration that brought an entirely new style of Chinese cuisine to New York:

Here’s the flickering-newsreel version: The Communists took over China in 1949. Tang and other great chefs began to slip and slide toward the United States soon after, riding to Taiwan with banquet crews loyal to Chiang Kai-shek — and from there to Hong Kong, India, Brazil, East Broadway and the Upper West Side.
They arrived in New York in the years following the 1965 changes in American immigration law and set up restaurants that over time began to offer a new kind of Chinese food, one remodeled first to fit and then to mold American tastes. “Szechuan food,” they called this new style of cooking, and it became as much a part of 1970s Manhattan as cocaine and disco. (The spelling would later shift to “Sichuan.”)
And as New York went, so went the nation: a cold and fiery dish meant to combat the lazy, brutal humidity of a Chinese summer became a staple of takeout menus across the United States.

Sifton's recipe, based on a historical reconstruction by Eddie Schoenfeld, "the affable yarn-spinner and restaurateur who opened Red Farm in the West Village and on the Upper West Side of Manhattan," is an attempt to rediscover the seductive origins of a now-ubiquitous recipe.  And it reappeared in the New York Times this summer, during the Dog Days, for a reason.  As Sifton put it in the quote above, this was "a cold and fiery dish meant to combat the lazy, brutal humidity of a Chinese summer."  Not only is it a tantalizing recipe, but it's an incredibly simple one, one that's conceivable to make even during a heatwave, one that's almost impossible to resist devouring upon completion of the preparation, regardless of the heat, and one that's positively soothing on a hot, steamy day if it's been allowed to chill sufficiently.

Now I didn't grow up in New York City, so I don't share Sifton's nostalgia, or that of "the jokers and memory thieves who while away their days eating and talking about Chinese food in New York City."  I didn't even grow up in a sesame noodle-eating family.  We were devotees of Chinese food, but, for some reason, sesame noodles didn't make it into our stock set of Chinese restaurant staples.  I'd had sesame noodles before, but never like this.  At the same time, god rest Shorty Tang's soul, I didn't have any real commitment to faithfully recreating the original, so I've take the license to improvise just a bit.  My version stays true to the fundamentals of Sifton's version--especially its unparalleled mouthfeel--but it takes a few liberties:  adding scallions and cilantro, bumping up the spice, and switching out cucumber matchsticks in favour of smashed cucumbers.

If you want to start with Sifton's original, by all means, go ahead.  You can find it here.

If, however, you'd like to try out my version, here it is, annotated to indicate the variations I've introduced:

Not-quite-takeout-style Sesame Noodles

1 pound fresh Chinese egg noodles*, 1/8-inch thick

2 tbsp Chinese sesame oil, plus a splash**

3 1/2 tbsp light soy sauce

2 tbsp Chinkiang vinegar***

2 tbsp Chinese sesame paste****

1 tbsp smooth peanut butter

1 tbsp sugar

1 tbsp finely grated ginger

1 tbsp finely minced garlic

2 scallions, white parts only, finely chopped

1-2 tbsp cilantro, finely chopped

3 tsp chili-garlic paste

1/4 cup roasted peanuts, chopped*****

1 recipe Chinese Smashed Cucumber Salad (see below)

Bring a large pot of water to a boil. Add noodles and cook until barely tender.  (Sifton claims this will take about 5 minutes.  In my experience, using the noodles available in Montreal, it takes about 1 minute.)  Drain, rinse with cold water, drain again and toss with a splash of sesame oil.

In a medium bowl, whisk together the remaining 2 tablespoons sesame oil, the soy sauce, rice vinegar, sesame paste, peanut butter, sugar, ginger, garlic and chili-garlic paste.

Pour the sauce over the noodles and toss with the scallions and cilantro. Transfer to a serving bowl, and garnish with cucumber salad (see recipe below) and peanuts.

[If it's particularly hot where you are, you might want to try making this early in the day, when it's cool, then placing it in the refrigerator all day.  Personally, I think the recipe benefits from a couple of hours (or more) in the fridge.]

Other than the addition of scallions and cilantro, one of the major differences between my version and Sifton's version is that instead of adding cucumber matchsticks as a garnish, I've taken to adding a Chinese-style smashed cucumber salad--a recipe that I also found on the New York Times Cooking site, this time courtesy of Julia Moskin.  If you haven't jumped on the smashed cucumber craze, here's your chance.  The technique is brilliant.  The results can be exhilarating.  

Chinese Smashed Cucumber Salad

About 2 pounds thin-skinned cucumbers like English or Persian (8 to 10 mini cucumbers, 4 medium-size or 2 large greenhouse)

1 tsp kosher salt, plus more for cucumbers

2 tsp granulated sugar, plus more for cucumbers

1 ½ tbsp rice vinegar

2 tsp Chinese sesame oil

2 tsp light soy sauce

1 tbsp grapeseed or extra-virgin olive oil

2 large garlic cloves, minced or put through a press

Red pepper flakes, to taste

Small handful whole cilantro leaves, for garnish

2 tsp toasted white sesame seeds, for garnish (optional)

Rinse cucumbers and pat dry. Cut crosswise into pieces about 4 inches long. Cut each piece in half lengthwise.

On a work surface, place a piece of cucumber (or several) cut side down. Lay the blade of a large knife flat on top the cucumber and smash down lightly with your other hand. The skin will begin to crack, the flesh will break down and the seeds will separate. Repeat until the whole piece is smashed. Break or slice diagonally into bite-size pieces, leaving the seeds behind.

Place the cucumber pieces in a strainer and toss with a big pinch of salt and a big pinch of sugar. Place a plastic bag filled with ice on top of the cucumbers to serve as a weight and place the strainer over a bowl. Let drain 15 to 30 minutes on the counter, or in the refrigerator until ready to serve, up to 4 hours.

Make the dressing: In a small bowl, combine salt, sugar and rice vinegar. Stir until salt and sugar are dissolved. Stir in sesame oil and soy sauce.

When ready to serve, shake cucumbers well to drain off any remaining liquid and transfer to a serving bowl. Drizzle with grapeseed or olive oil and toss. Add half the dressing, half the garlic and the red pepper flakes to taste, and toss. Keep adding dressing until cucumbers are well coated but not drowned. Taste and add more pepper flakes and garlic if needed. Serve immediately, garnished with cilantro and sesame seeds.

Moskin's recipe is yet another keeper.  It, too, is great for hot summer days, and it pairs well with anyone of a number of Chinese dishes.  But it's also a great accompaniment for these Not-quite-takeout-style Sesame Noodles.  In fact, a drizzle of the dressing over the noodles adds yet another dimension.

The bottom line:  I literally can't get enough of these Takeout-style Sesame Noodles.  I've been making them repeatedly for weeks.  And everyone I've made them for has flipped out, too.  Picnics.  Potlucks.  Dinner parties.  They don't look like much, but as soon as people taste them, they get stopped in their tracks.  I made a double batch for a small dinner party (4 people) once, because Michelle was going to be showing up late, I knew she'd be wanting some, and I was positive that if I only made a normal-size batch there'd be none left.  I was right.  That first batch got destroyed in under 5 minutes.  The remaining part of the second batch got destroyed within minutes of Michelle's arrival.

All that, and it's totally vegan, too.

Eat well.  Stay cool.

aj

* Please insist on using fresh Chinese noodles.  You can find these in Asian supermarkets and specialty stores, as well as many non-Asian supermarkets [Montrealers:  the PA supermarché stocks them].

** Other sesame oils won't necessarily have the toasted depth of Chinese sesame oil.

*** I'm pretty sure Sifton is calling for clear rice vinegar in his recipe, but I've found I prefer the more complex qualities of Chinkiang vinegar.

**** Ask for this at your local Asian supermarket.  You could use tahini in a pinch (see Sifton's instructions), but it just wouldn't be the same because Chinese sesame paste is like the Lucky Strikes of sesame pastes:  "It's Toasted!"

***** Use the best roasted peanuts you can get your hands on and you'll be happy you did.
 

Out of the Archives 1: Keep It Simple (June 2008)

Editor's note:  Thus begins a new series called Out of the Archives.  The idea is to regularly dig deep into our vaults, sift through over 10 years' worth of "...an endless banquet" posts (!), and dust off some old favourites.  

Without any further ado, here's a post that first appeared on Sunday, June 15, 2008, and is perfect for the summertime grilling season.

'Cause I'm easy, yeah, I'm easy...--Keith Carradine, "I'm Easy," Nashville (1975), dir. Altman

I guess if you always have access to the best quality meat, well, then you can be as adventurous as you want with it. Kind of like cooking with wine--I'm sure everything tastes even better if you happen to be in a position to cook with high-quality wines, but most of us have had limited experience (if any) with doing so. As a result, when we, here at "...an endless banquet," get our hands on really good meat, our tendency is to, yes, keep it simple (just as when we get our hands on a really good bottle of wine our tendency is to, well, drink it--we're kind of old-fashioned like that). The point is, in both cases, we want to really taste the difference.

So when we were lucky enough to get a gorgeous pork rib roast that had been sourced, slaughtered, and dressed by a friend of ours (!),* we turned to our friends from London's River Café to give us a little guidance on pork and minimalism.

fig. a:  CA COOK BOO

fig. a:  CA COOK BOO

If you're not familiar with Rose Gray and Ruth Rogers' River Cafe Cook Book Easy and Italian Two Easy: Simple Recipes from the London River Cafe, you love Italian and Italian-inspired cuisine, and you're a believer in keeping it simple, well, you really ought to be. As the titles suggest, most of their recipes require a minimum of ingredients, a minimum of time, or a minimum of effort, and some fall under all three categories. Some of our favorites contain literally three ingredients and take just minutes to prepare. Seriously. And don't let the vaguely glam cover of River Cafe Cook Book Easy throw you: the minimalism of the content is mirrored by the minimalism of the books' design. Virtually every photograph is taken from directly overhead, and many feature a stark white background. Seriously, minimally perfect.

fig. b:  yellow on black

fig. b:  yellow on black

The one we chose on this particular occasion requires two ingredients, just a few more if you make a salsa verde to go along with it (and we highly recommend that you do).

Pork chops with lemon

4 pork chops
1 lemon

Preheat a large cast-iron pan over medium-high heat. Preheat the oven to 400º F (200º C/Gas 6).

Season each chop generously with salt and pepper (okay, you need two more ingredients), put the chops in the pan and sear them on each side quickly, no more than 30 seconds per side. Take the pan off the heat.

Cut the lemon in half. Squeeze the lemon juice over the chops, and place the squeezed lemon halves in the pan along with chops. Roast in the oven for 10 minutes. Press the lemon halves on to the chops and baste with the juice. Roast for another 10 minutes or until firm to the touch.

note: if you don't have a cast-iron pan that's large enough to fit four chops, sear them in batches in a cast-iron pan, and then transfer them to a preheated oven tray and continue with the recipe above.

[recipe from River Cafe Cook Book Easy]

Now, the oven recipe works like a charm, but it being BBQ season, a few weeks ago we decided to adapt the above recipe for the grill.

We rubbed a little bit of olive oil into the chops before generously seasoning them. We took a small cast-iron pan, added a tablespoon of olive oil to it, and brought it out to the barbecue with us, and we cooked the lemon halves in the pan on the grill while we grilled the meat over a hot flame. Before flipping the chops we used tongs to pick up a lemon half and rub it all over the chops. Total cooking time was almost the same as above and we tried to flip the chops as little as possible. The lemons got nice and caramelized and we served them alongside the chops and drizzled a little of the delicious sauce they'd created overtop.

When we started our chops looked like this:

fig. c:  the raw...

fig. c:  the raw...

When we finished cooking them they looked like this:

fig. d:  ...and the cooked

fig. d:  ...and the cooked

And minutes later they'd been picked clean.

This recipe really doesn't need anything additional--the flavors are honest and clean and pretty much perfect as is. All you really need to finish the ensemble is a vegetable side, a salad, and a glass of wine. But, if you wanted to dress them up just a little, you can't go wrong with this salsa verde:

Salsa Verde

2 tbsp parsley leaves
1 tbsp mint leaves
1 tbsp basil leaves
extra-virgin olive oil
1 garlic clove
1 tbsp capers
3 anchovy filets (1 or 2 will do, if you're using salt-packed)
1 tsp Dijon mustard
1 tbsp red wine vinegar
black pepper to taste

Finely chop the herbs, put into a bowl and cover with olive oil. Chop the garlic with the capers and the anchovies. Add to the herbs and mix together. Stir in the mustard and vinegar, season with black pepper and add more olive oil to loosen the sauce.

Serve a spoonful over your chops. Also excellent with steaks--grilled or roasted.

[recipe from River Cafe Cook Book Easy]

aj

* Merci, Sam Pinard.